Planning & organization
Organize travel documents
This guide explains how to collect important travel documents in WanderSpend, assign them to a travel day when useful and find them quickly on the road.
After this guide
You will know where your travel documents are stored, when a document belongs in a DayCard and how to use links to cloud files or provider portals.
1. Keep travel documents together in WanderSpend
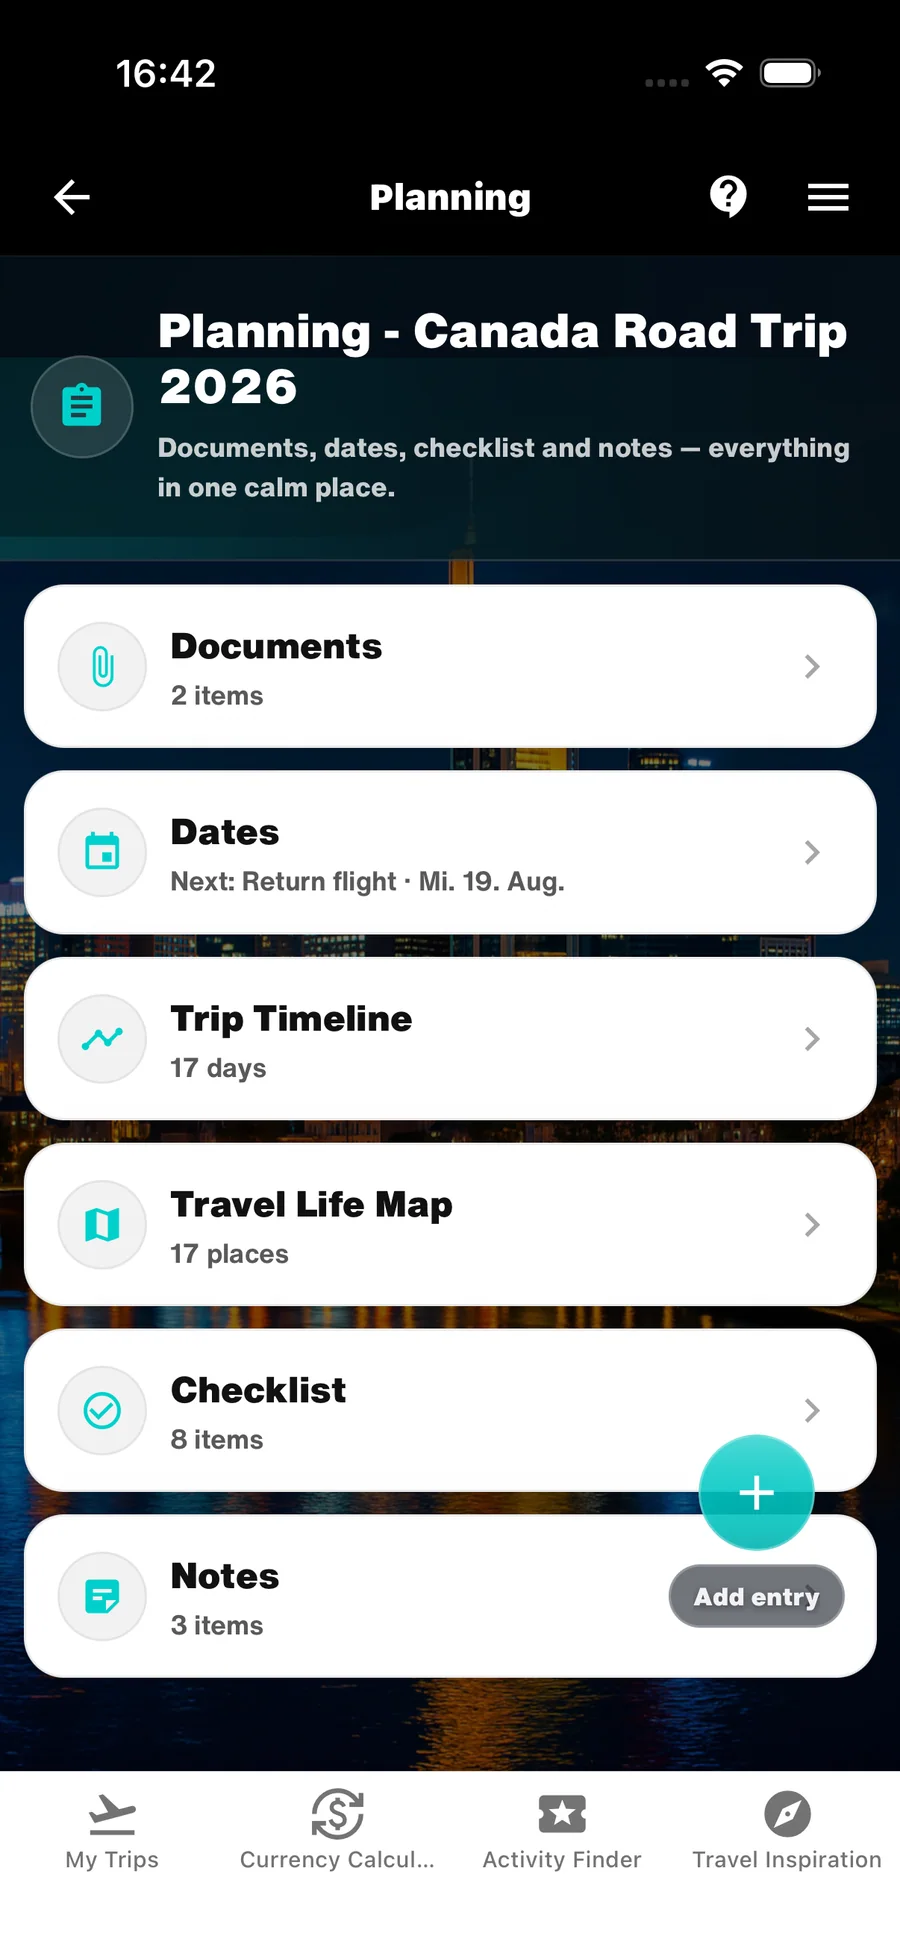
Documents are the most important part of practical trip organization. Planning & Organization → Documents shows every file associated with the trip in one overview.
Store the documents that you may need to show or check while travelling, such as bookings, tickets, vouchers and official entry documents.
- Use Documents for bookings, tickets, vouchers and official paperwork.
- Open important files once before departure so you know where to find them.

2. Add photos, PDFs and other files from your phone
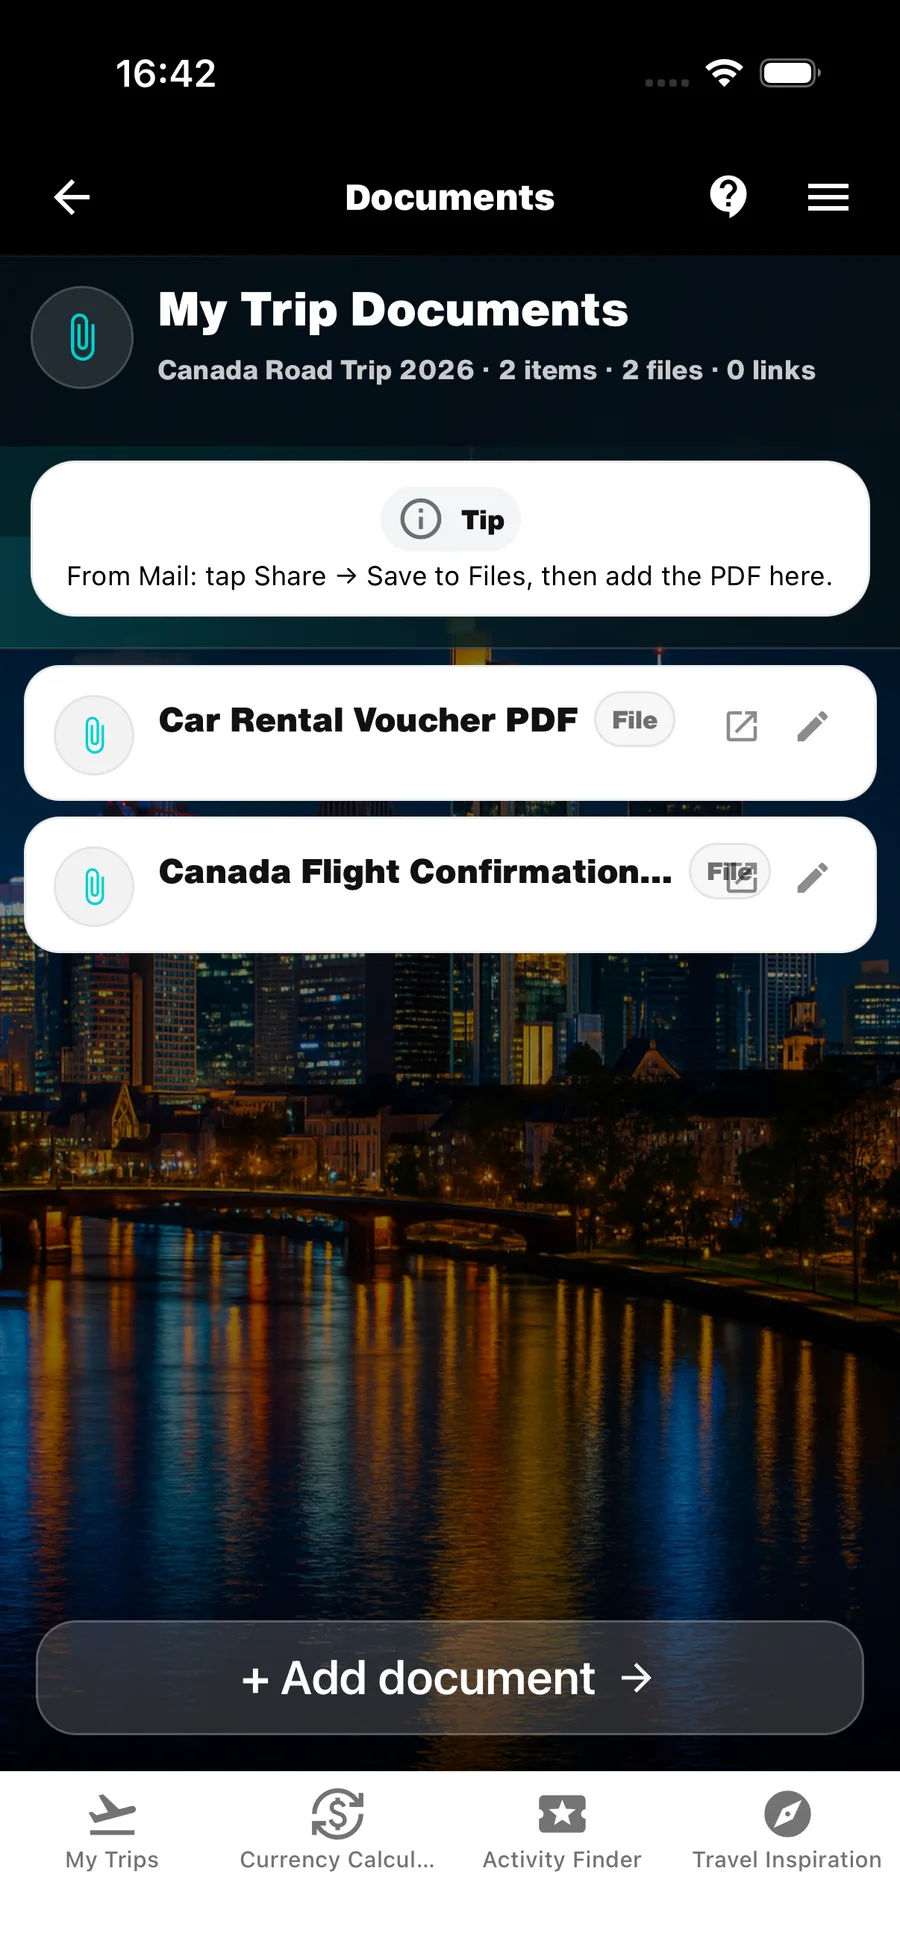
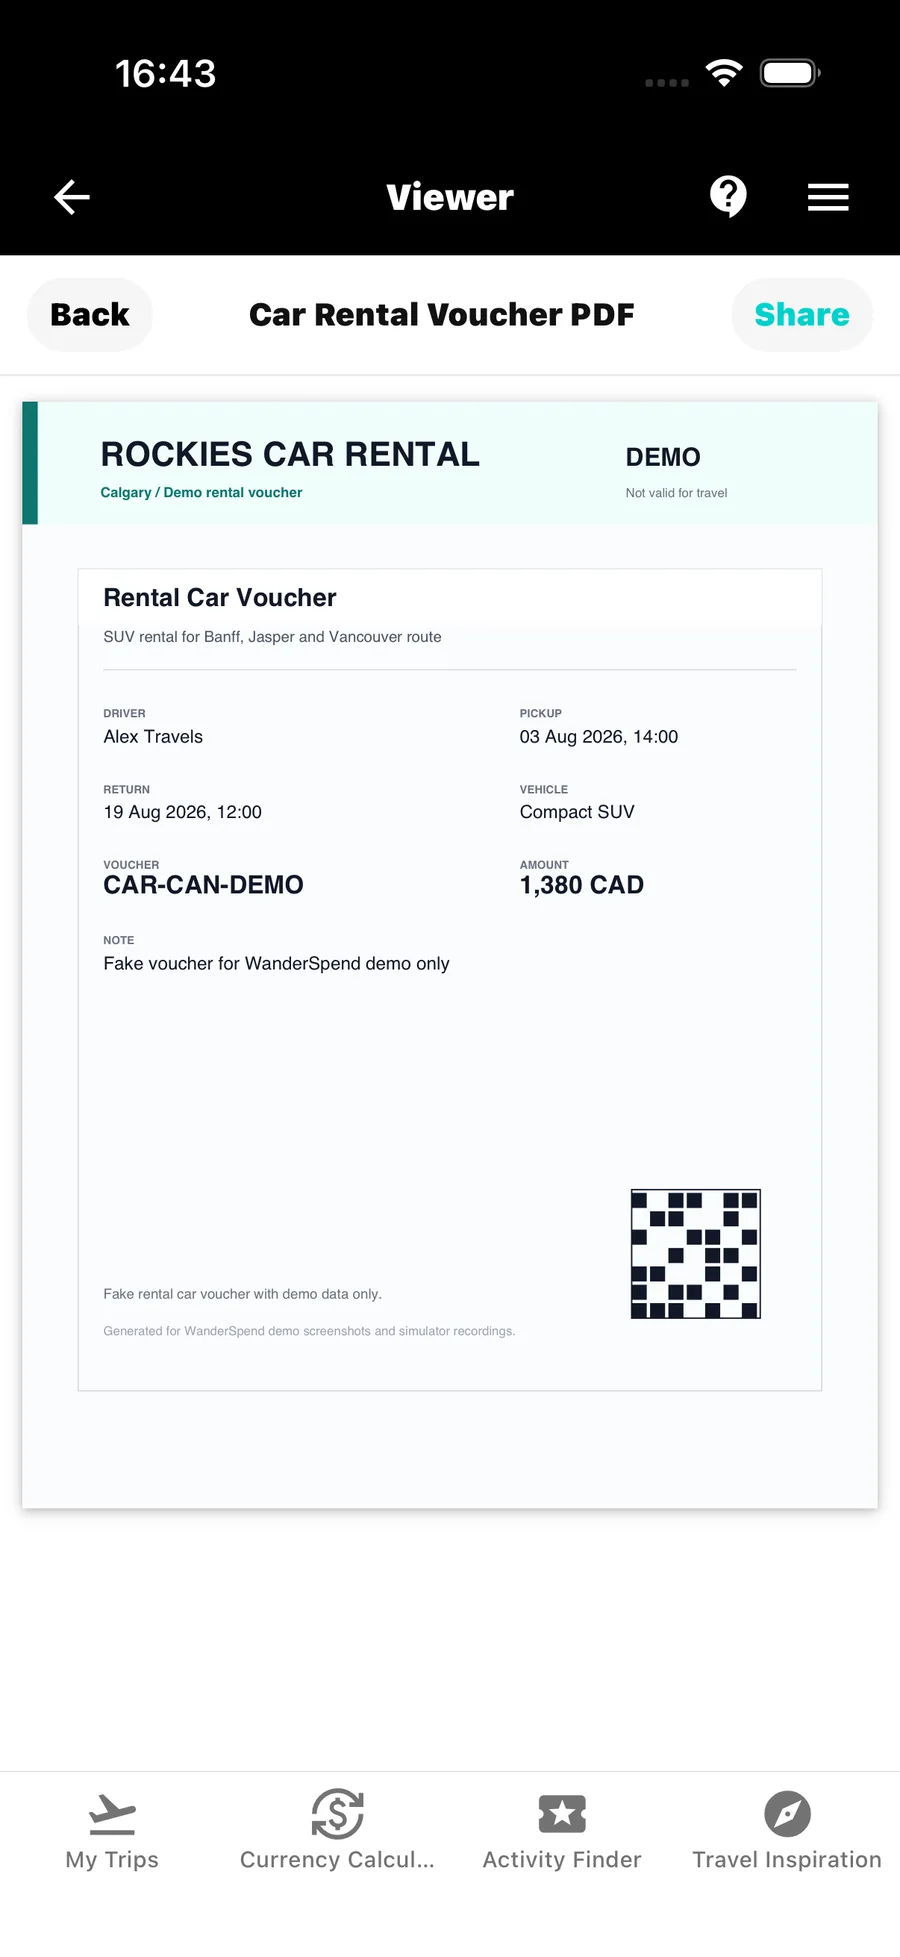
Add documents from your smartphone directly to the trip. You can use photos, PDFs and other supported files for flight bookings, hotel vouchers, airport parking documents or entry paperwork.
Give each document a clear name so that it is easy to recognize in the overview and while travelling.
- Save only the documents you will actually need during the trip.
- Use a clear title such as “Berlin–Toronto flight” or “Vancouver hotel voucher”.
Email attachments on iPhone or iPad: open the attachment in Mail, tap Share and choose Save to Files. You can then add the saved file as a document in WanderSpend. On Android, you will usually save the attachment to Files or Downloads first and then select it in WanderSpend; the exact steps depend on your email app.
3. Save links to cloud documents and portals
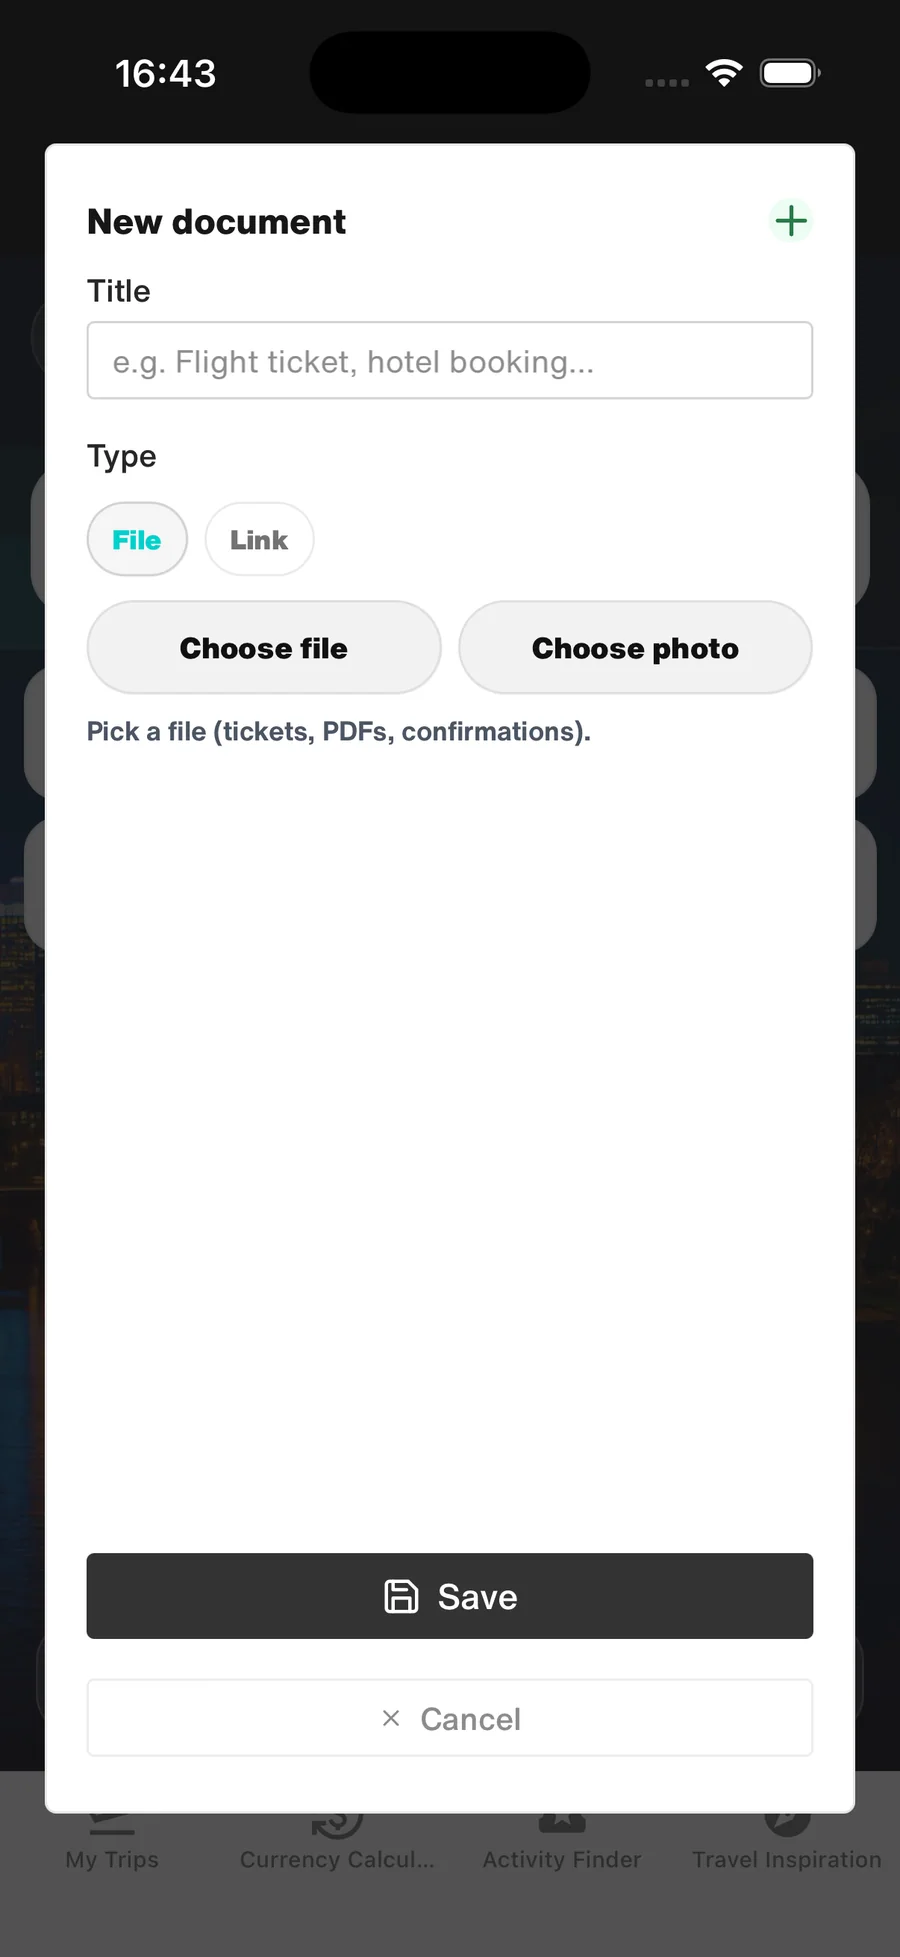
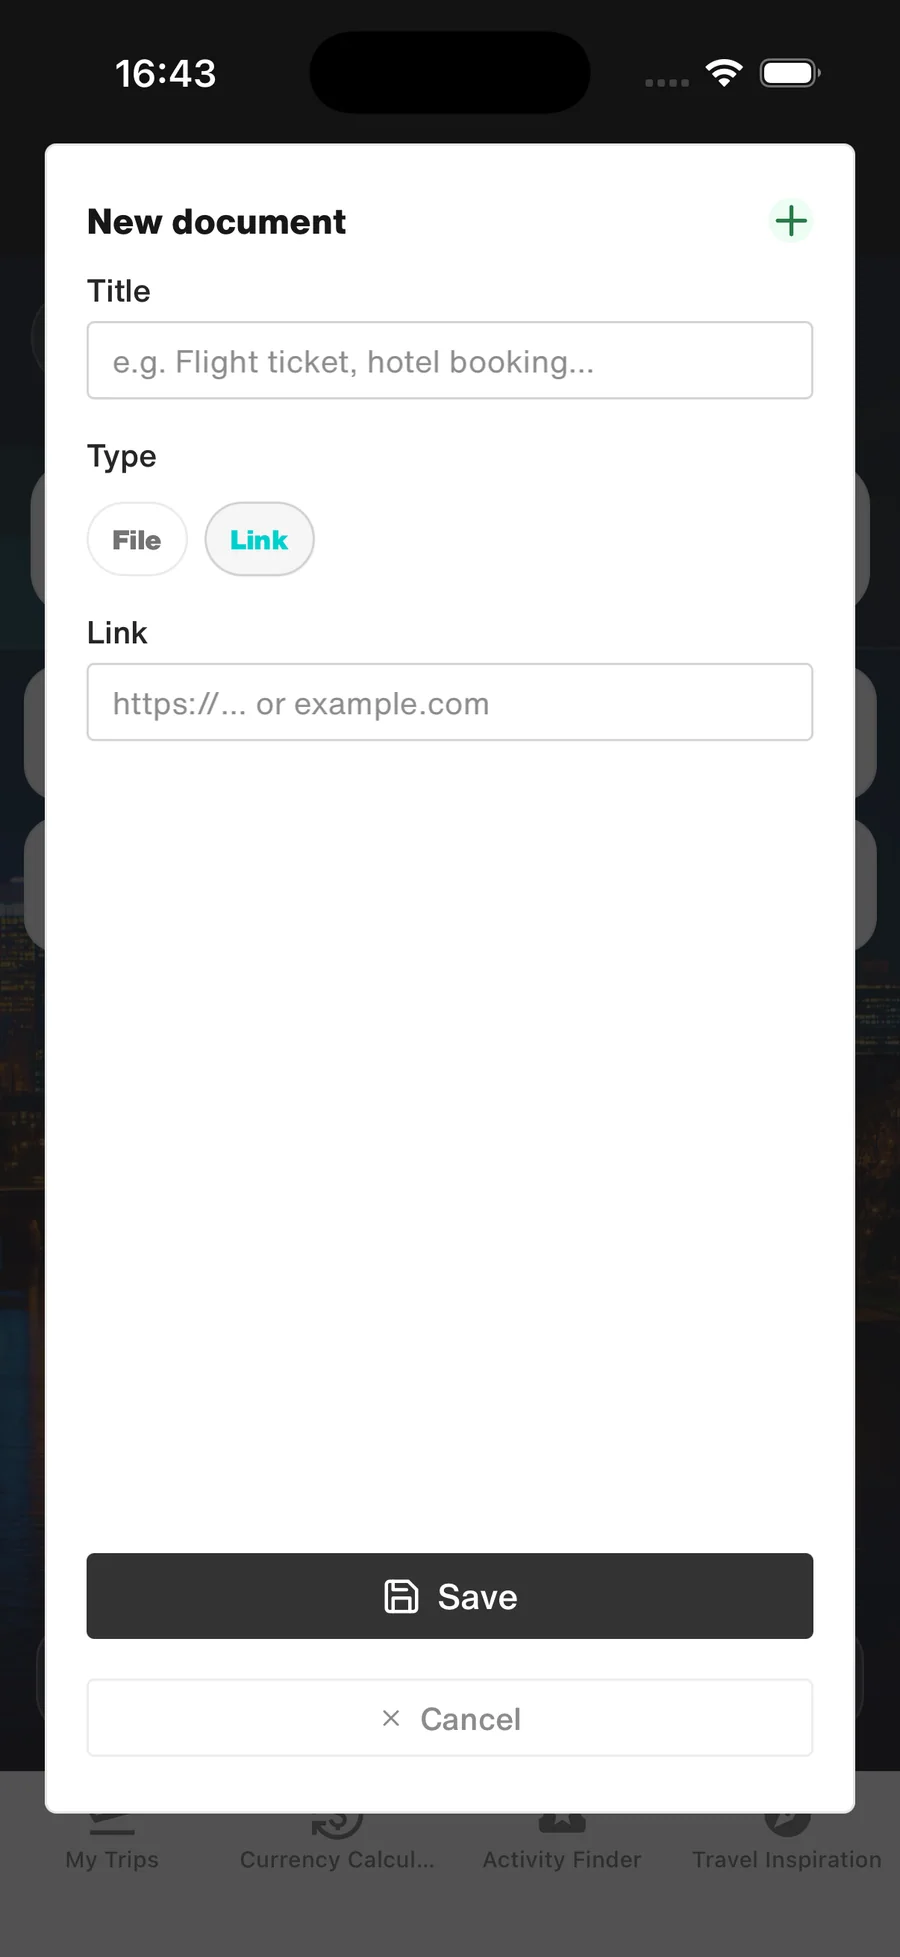
Choose the Link type when you want to point to a document in the cloud or another portal. This is useful when the document already exists with a provider and does not need to be stored again as a file.
A link can also open a travel portal, booking overview or online check-in. Add a short description so that its purpose remains clear.
- Link only to portals and documents you can access while travelling.
- Do not store passwords as plain text; keep them securely in a separate place.
4. Place documents on the relevant travel day
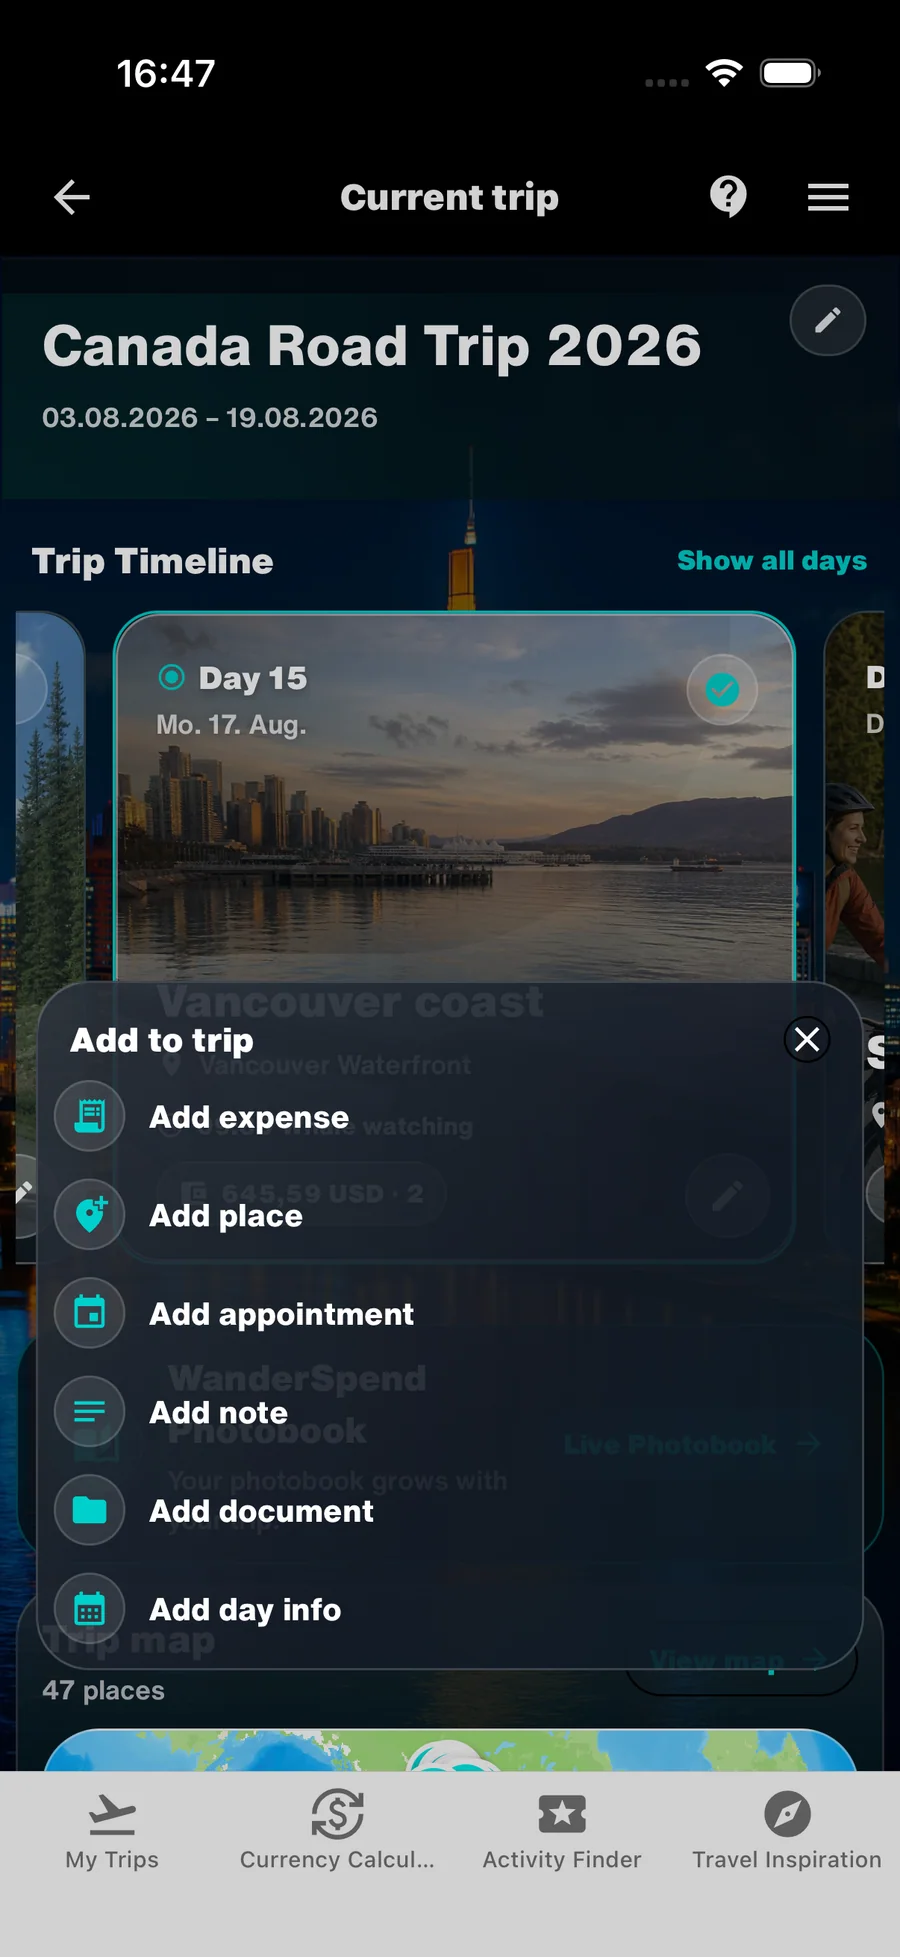
Some documents belong to a specific travel day. Flight bookings, tickets and time-sensitive vouchers can be attached to the relevant DayCard, where you can select an existing document or add a new one.
Other files, such as entry documents or general insurance records, do not need a particular day. Add them as a general entry with Add entry → Document so that they remain available in the document overview.
- Assign time-sensitive documents to the day when you need them.
- Store general paperwork as a general document entry.
- Reuse an existing document instead of adding the same file several times.
5. Keep an additional copy of important documents
Documents in WanderSpend make trip organization calmer and easier to follow. You should still keep an additional backup of particularly important paperwork.
- Keep passport, visa, insurance and booking documents printed or available through another backup when appropriate.
- Before departure, check that every important document opens correctly.
All information and documents in WanderSpend stay locally on your device and are not uploaded to or synchronized with a server. Keep important paperwork printed or available through another backup as well.
Help by feature
- Use WanderSpend before, during and after a tripStep-by-step instructions from creating a trip to memories and your Photobook.Open tutorial
- Trip Map and placesBuild a visual route and connect places with travel days.Open tutorial
- Trip TimelineTurn dates, places, notes and photos into a day-by-day story.Open tutorial
- Travel budget and expensesStay aware of spending without making money the focus of the trip.Open tutorial
- WanderSpend PhotobookSee how your timeline grows into an editable printed travel book.Open tutorial