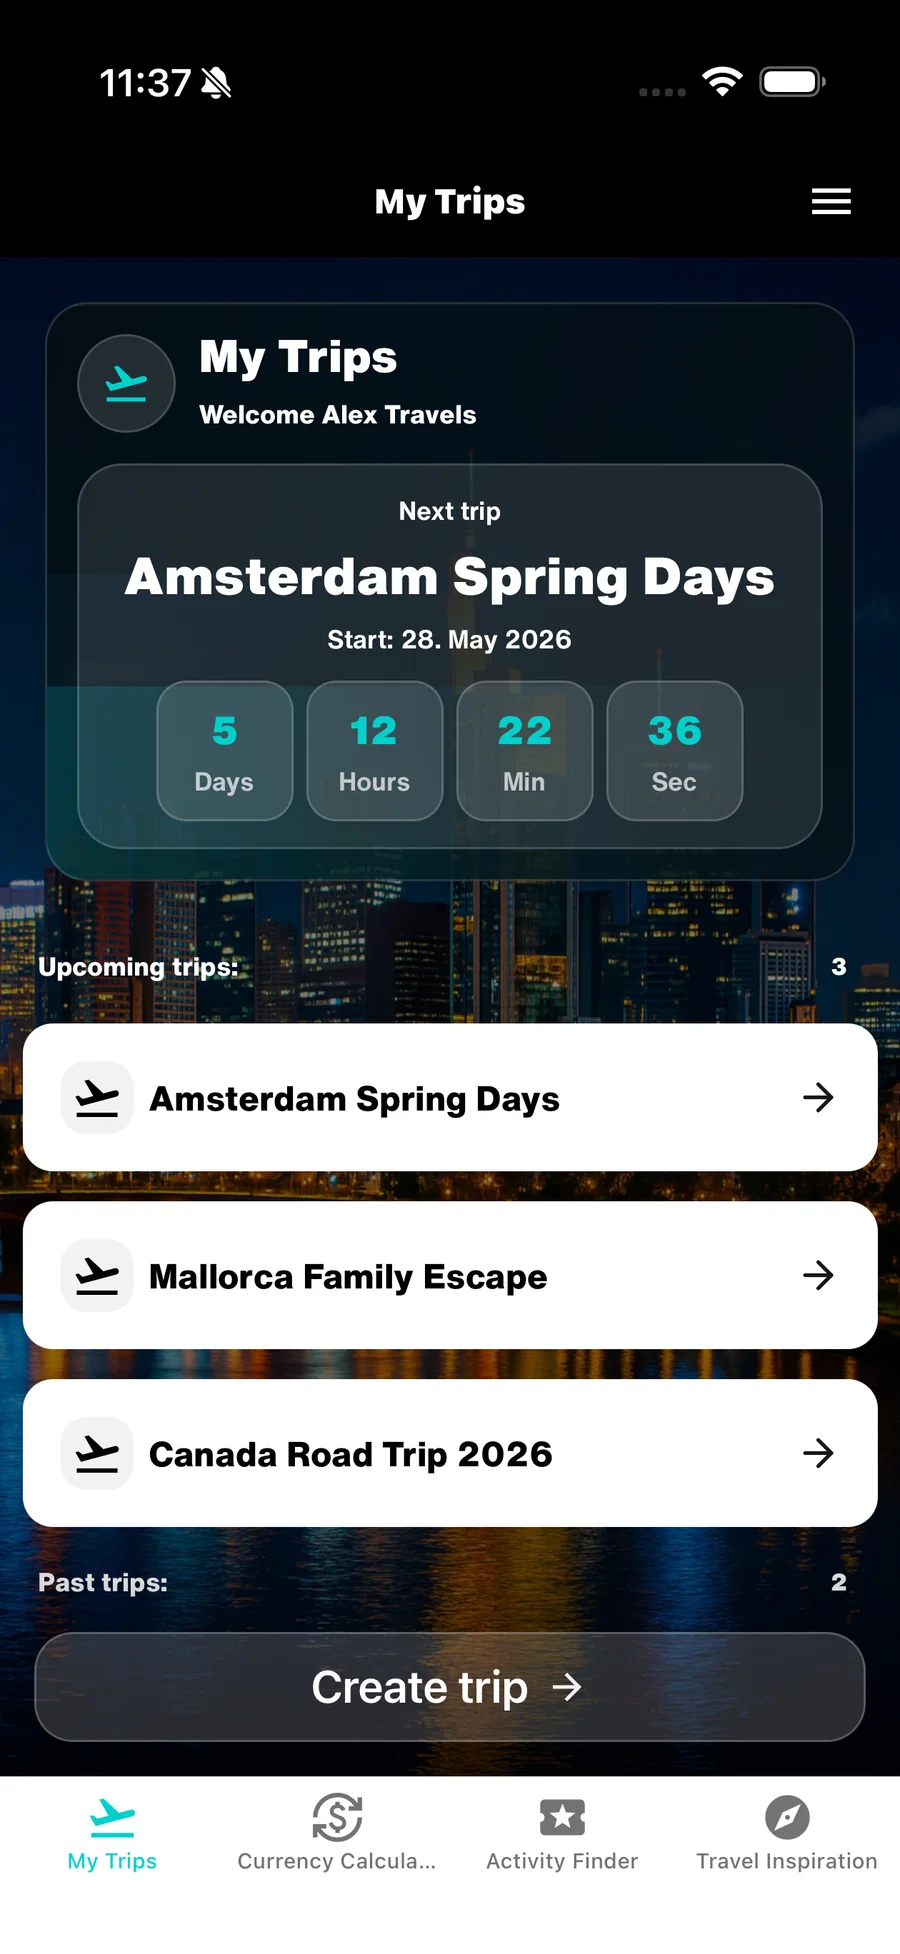
Trip Timeline
Use the Trip Timeline and DayCards
The Trip Timeline is the chronological record of your journey. Each DayCard keeps the information, places, expenses and photos for one day together in a clear place.
After this guide
You will be able to document each travel day and know which details are most valuable for your later recap and Photobook.
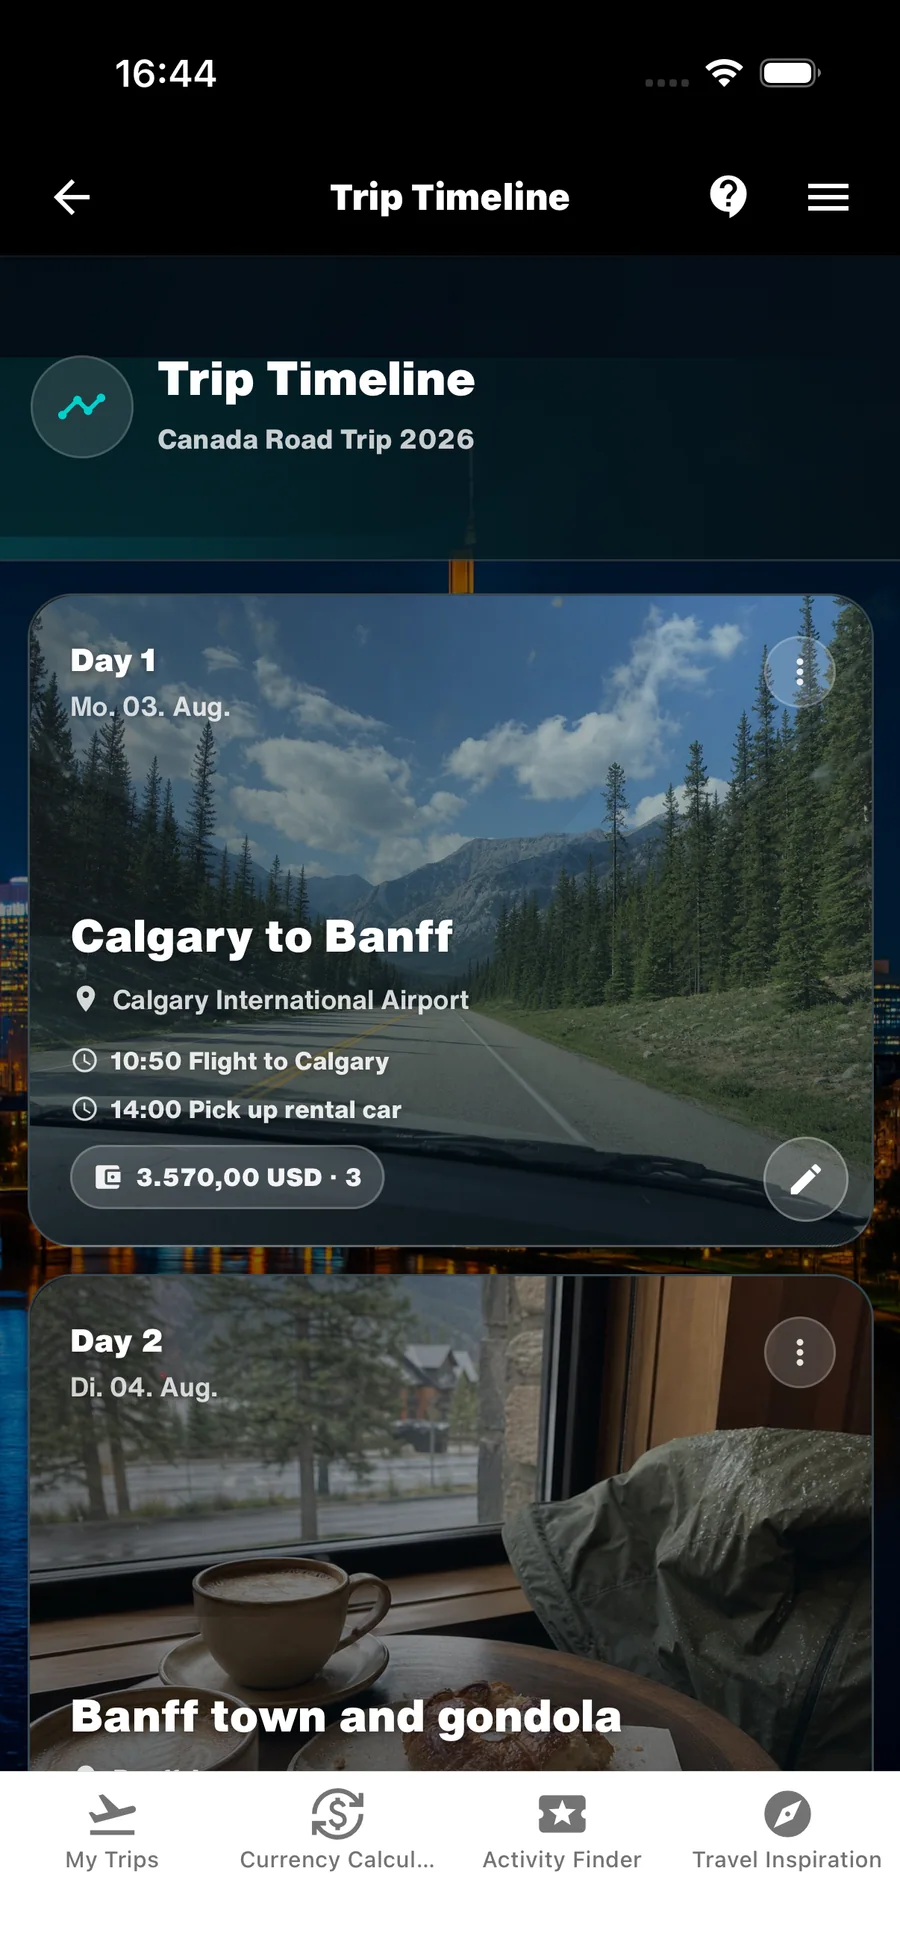
1. Use the Trip Timeline as a day-by-day overview
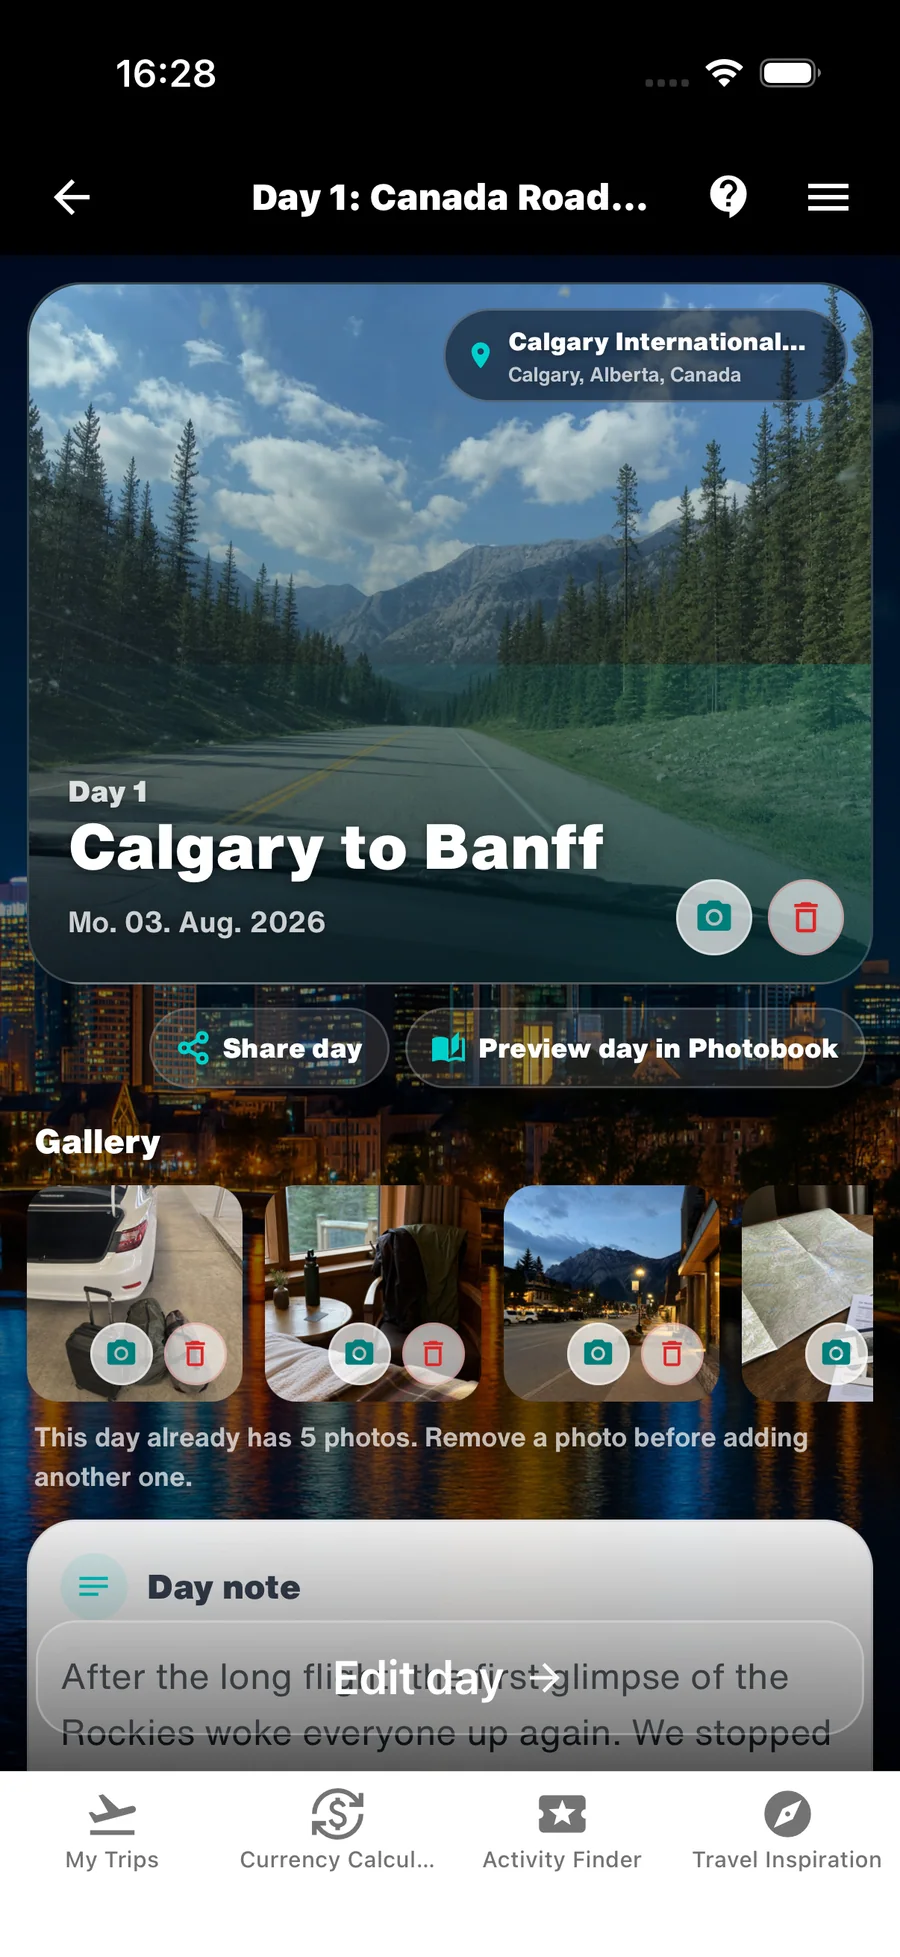
Every travel day has its own DayCard in the Trip Timeline. It is the right place for everything planned or experienced on that day.
You do not have to document every day completely. A few relevant details already make the route and story much easier to understand later.
- Open the DayCard for the relevant travel day.
- Start with the information you will genuinely want to find again later.

2. Add a daily headline and notes
A short daily headline makes the character of a travel day immediately clear, for example “Arrival in Vancouver” or “Drive through the Rocky Mountains”.
Add a short note when you want to keep a thought, recommendation or small detail. A few sentences are usually enough.
- Write concrete headlines that are easy to recognize.
- Add notes on the same evening whenever possible.
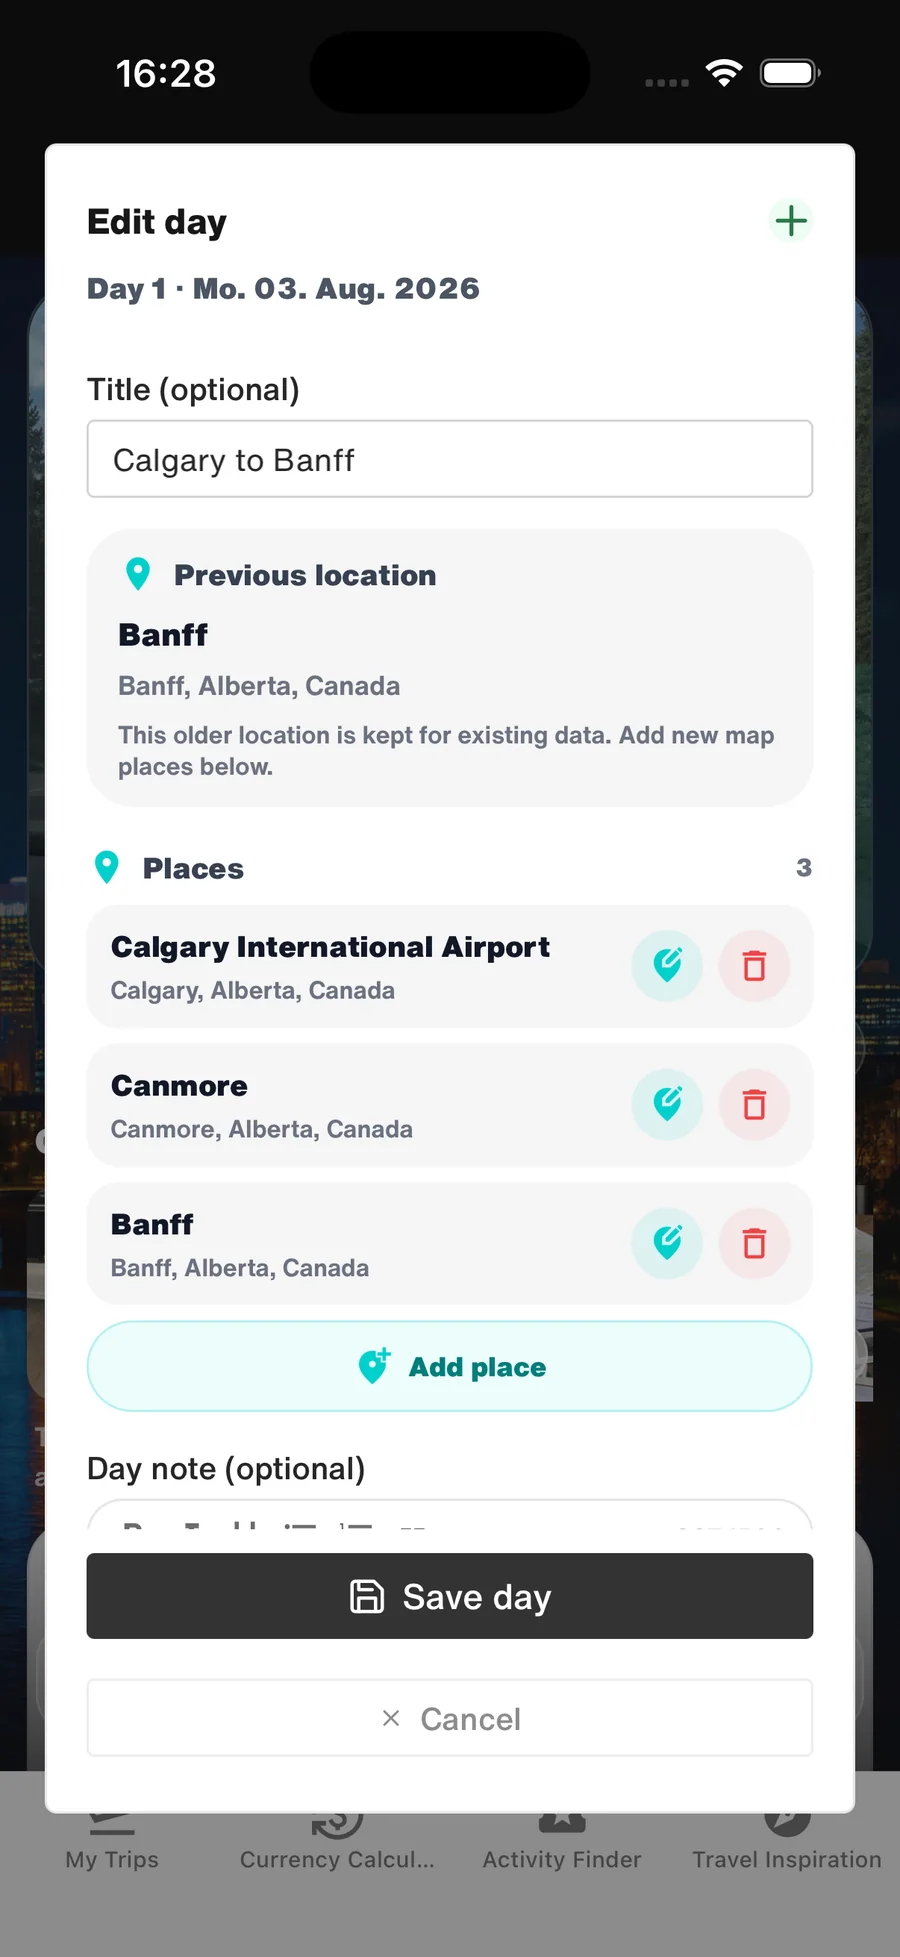
3. Add places, expenses and photos to the day
Assign places to the day when you visit or stay there. Add expenses to the relevant day so that costs remain connected with the daily itinerary.
You can select up to five photos that tell the story of the day. Choose them deliberately: a few relevant images are more useful for the Timeline and later Photobook than a large, unsorted collection.
- Keep places, expenses and photos in the appropriate DayCard.
- Choose up to five images that genuinely represent the day.
4. Maintain the Timeline as the basis for your Photobook
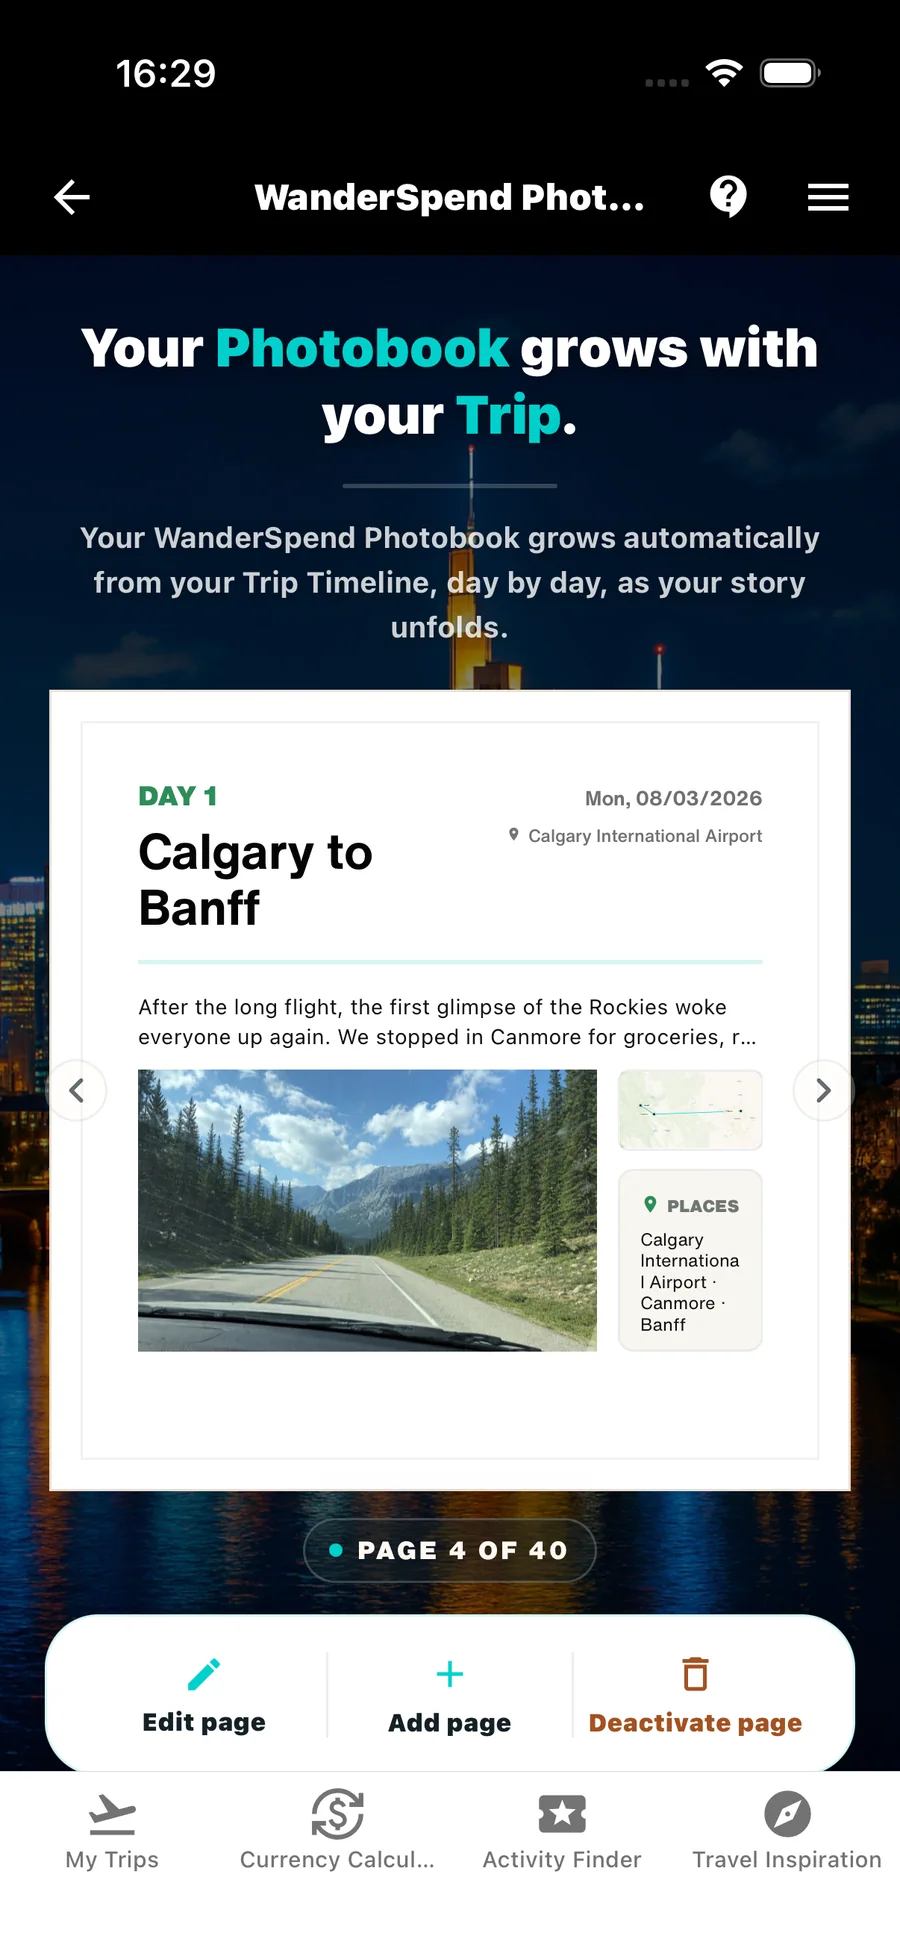
The content of your DayCards forms the basis of the Photobook. Daily headlines, places, selected images and notes turn it into a coherent travel story.
You do not need to rebuild the Timeline after returning home. Adding a little information while travelling makes the Photobook much easier to shape later.
- Complete individual days while the memories are still fresh.
- Check for missing headlines, places or photos before starting the Photobook.
Help by feature
- Use WanderSpend before, during and after a tripStep-by-step instructions from creating a trip to memories and your Photobook.Open tutorial
- Documents, notes and checklistsKeep bookings, tickets and practical trip details together.Open tutorial
- Trip Map and placesBuild a visual route and connect places with travel days.Open tutorial
- Travel budget and expensesStay aware of spending without making money the focus of the trip.Open tutorial
- WanderSpend PhotobookSee how your timeline grows into an editable printed travel book.Open tutorial