
Getting started
How to use WanderSpend before, during and after a trip
WanderSpend works best when the trip becomes the center of your information. You do not need to fill every section on day one. Start with the details you already know, then let the map, timeline, budget and memories grow as the journey becomes more concrete.
After this guide
You will have a simple routine for using WanderSpend before departure, on the road and after the trip without turning travel planning into another project.
Before your trip
1. Create the trip as your shared starting point
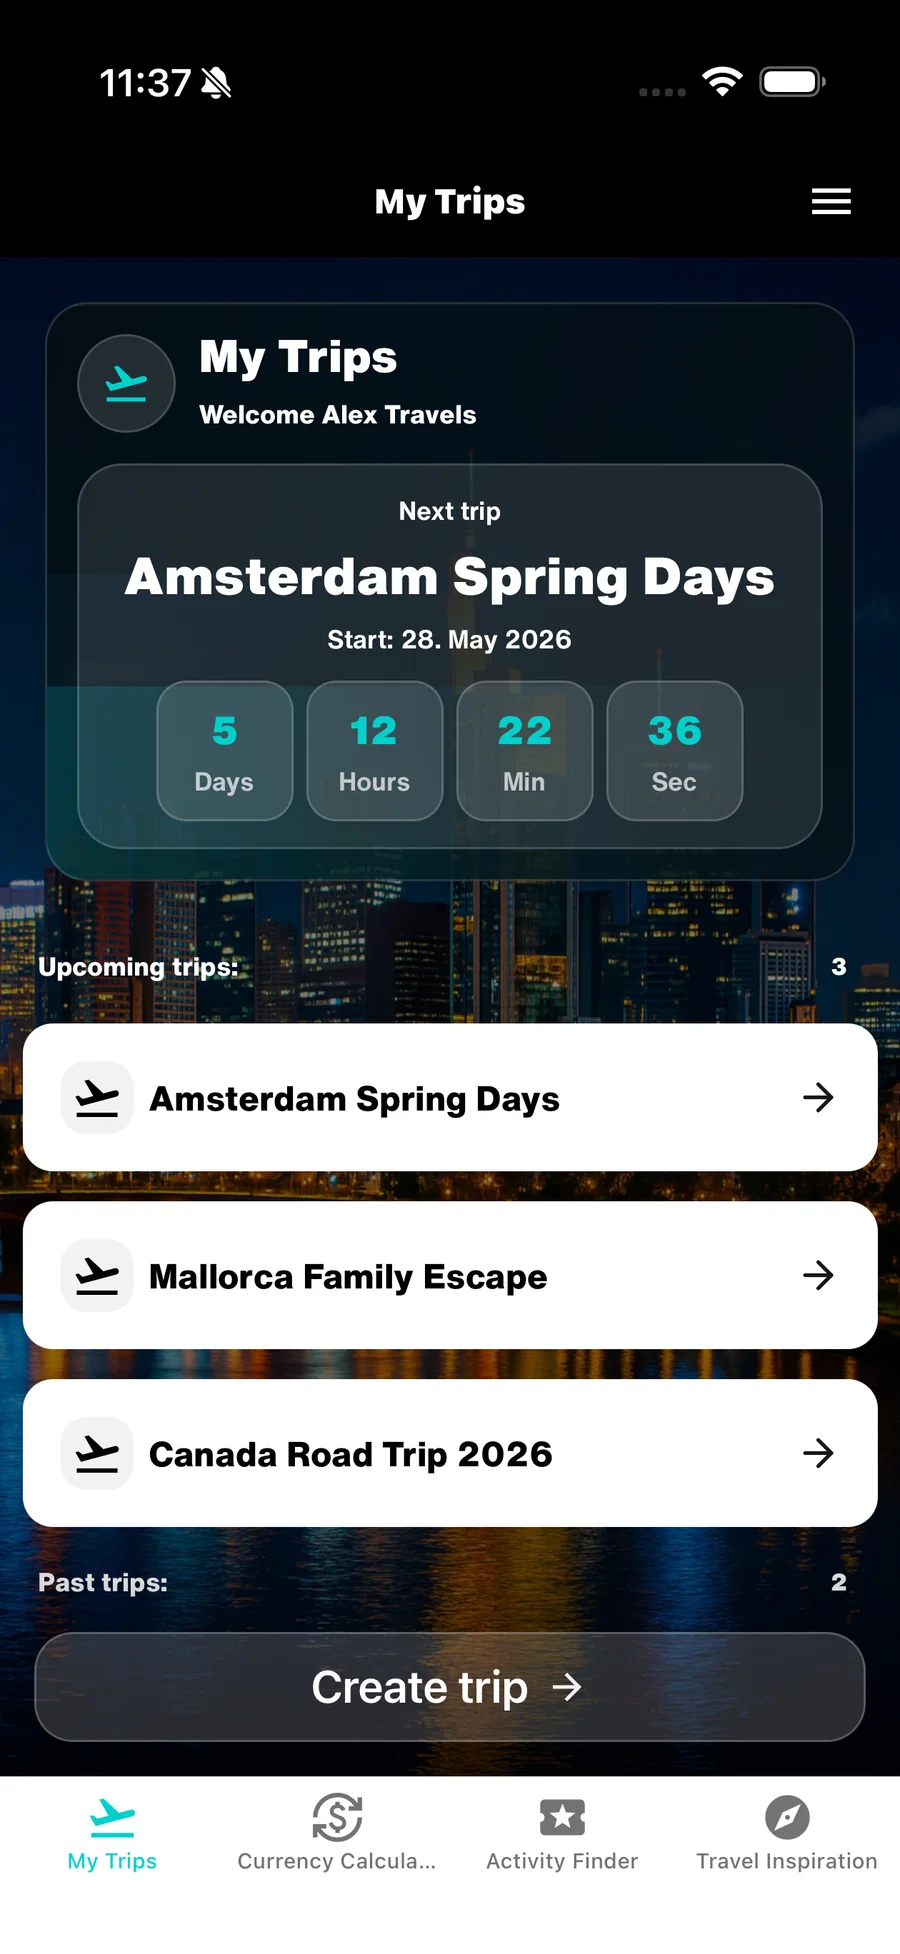
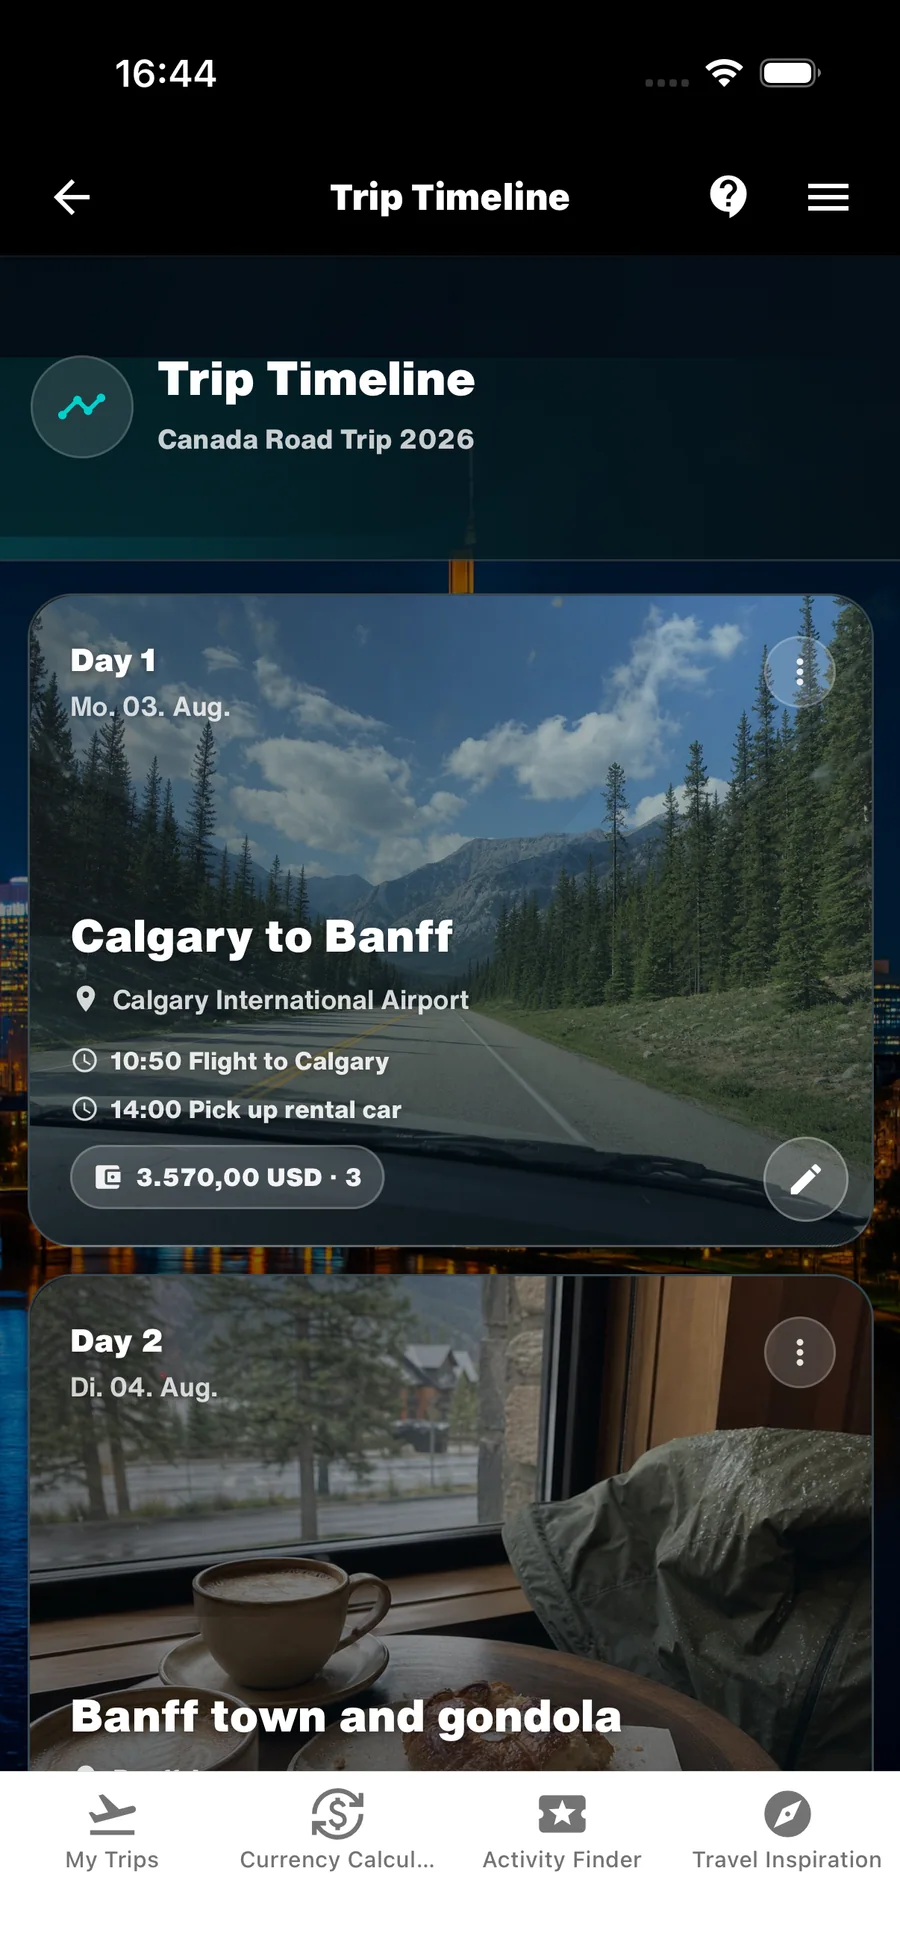
Add the destination, start and end dates, trip currency and an initial budget. Dates matter because WanderSpend uses them to prepare travel days for the Trip Timeline.
Add the people who are travelling with you early. This makes later expenses and cost splitting easier to understand.
- Use a clear trip name you will still recognize later.
- Treat the first budget as a planning range, not a promise.
- Keep one WanderSpend trip as the reliable home for this journey.
For a road trip, include the route or year in the name, for example “Canada Road Trip 2026”.

2. Organize only the details you will need on the road
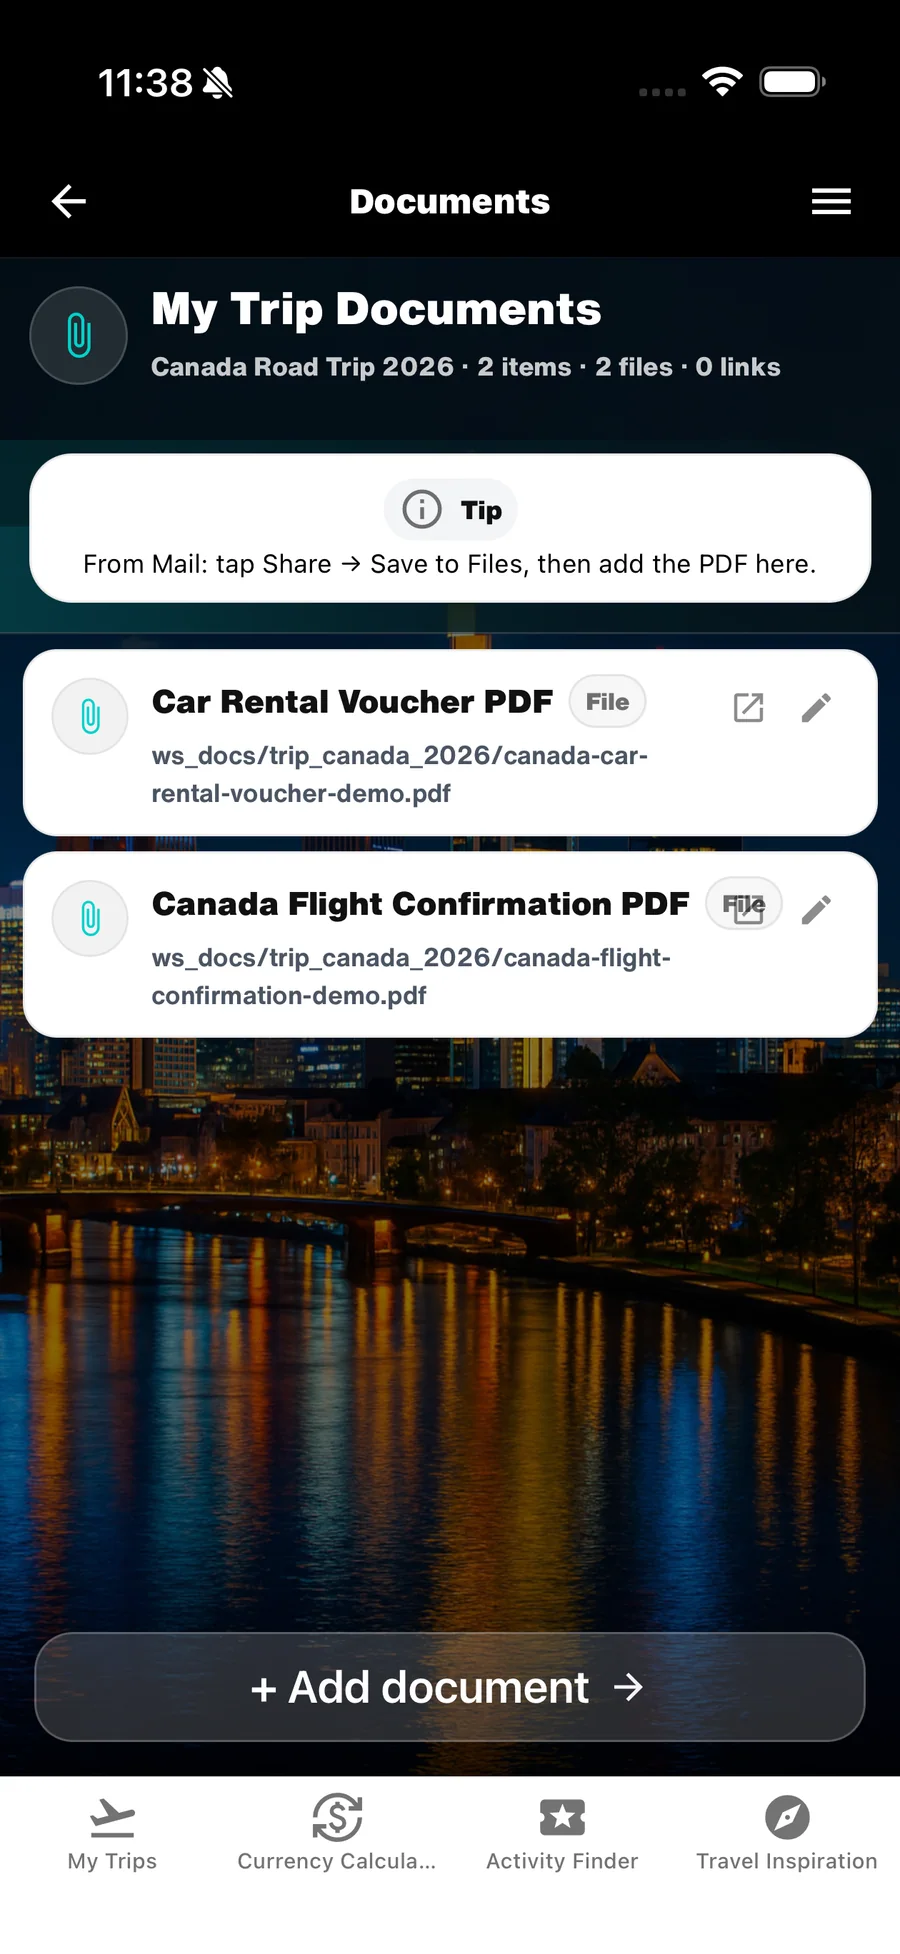
Documents are useful for confirmations and tickets, Notes for context, Checklists for actions and Dates for fixed appointments. Keeping those roles distinct makes information easier to find later.
You do not need to copy every email. Save the document or short detail you will genuinely need while travelling.
- Documents: bookings, tickets and confirmations.
- Notes: addresses, ideas and decisions.
- Checklists and Dates: tasks and fixed moments.
Open important documents once before departure so you know exactly where they are when reception is poor.
During your trip
3. Capture the complete travel day in its DayCard
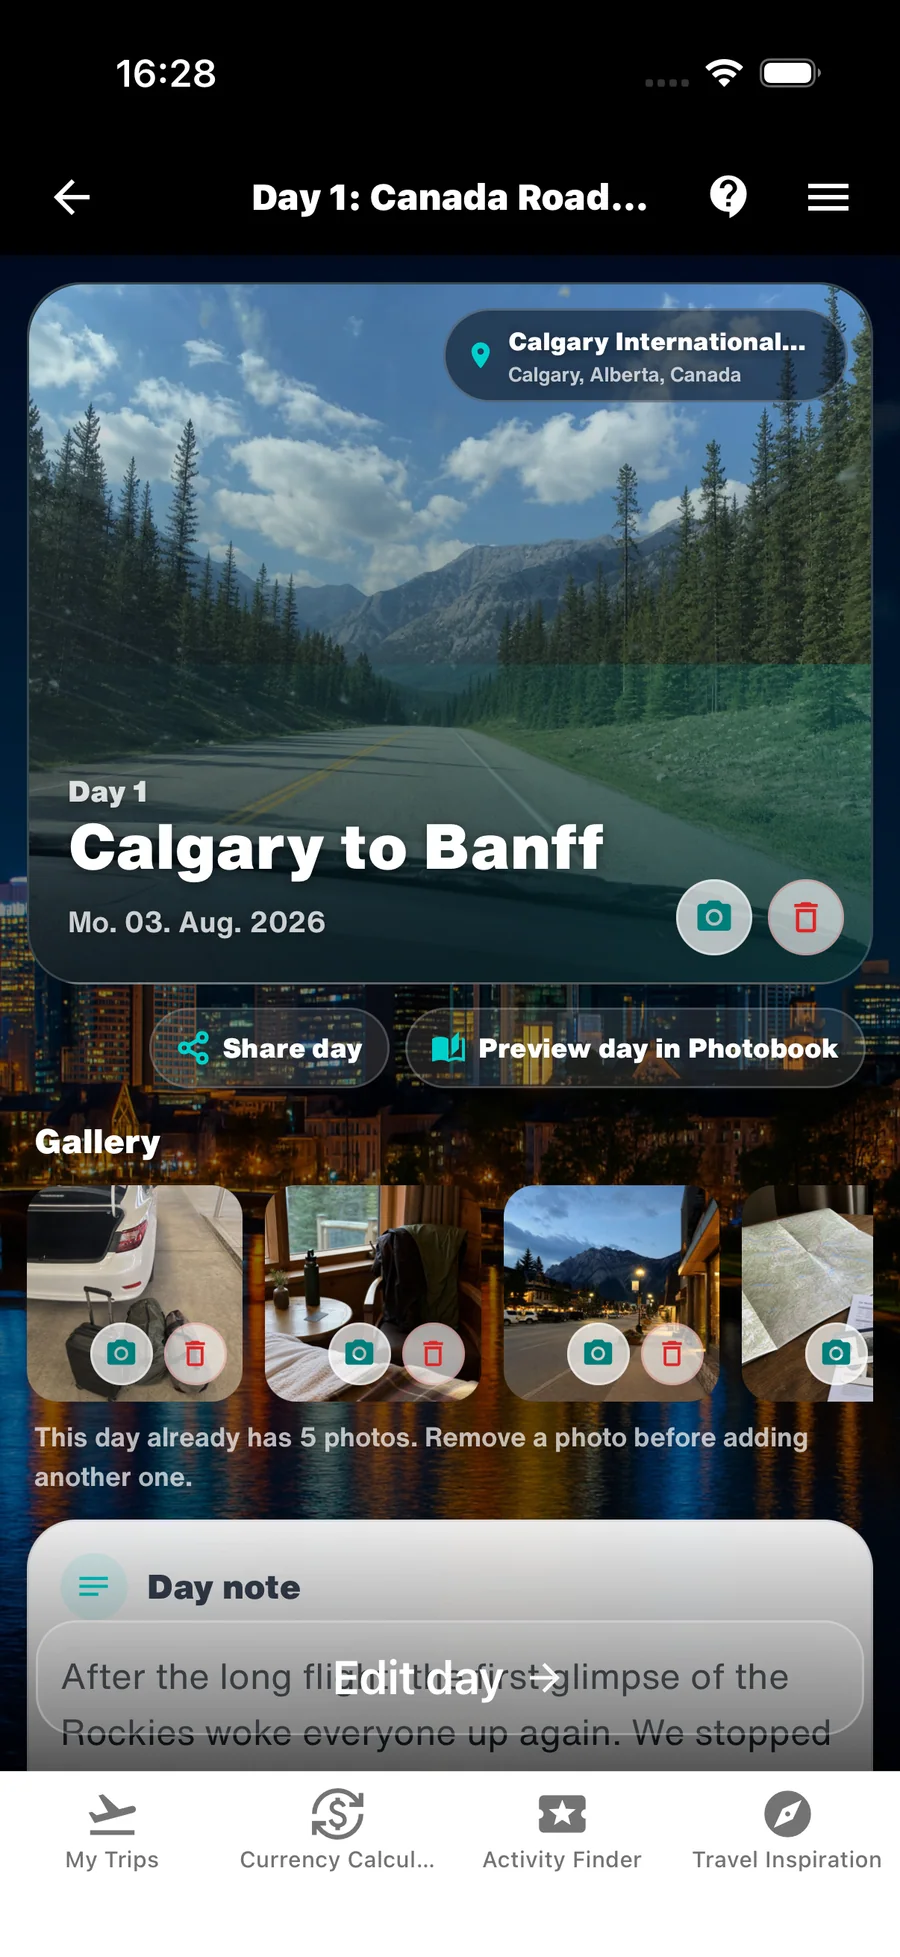
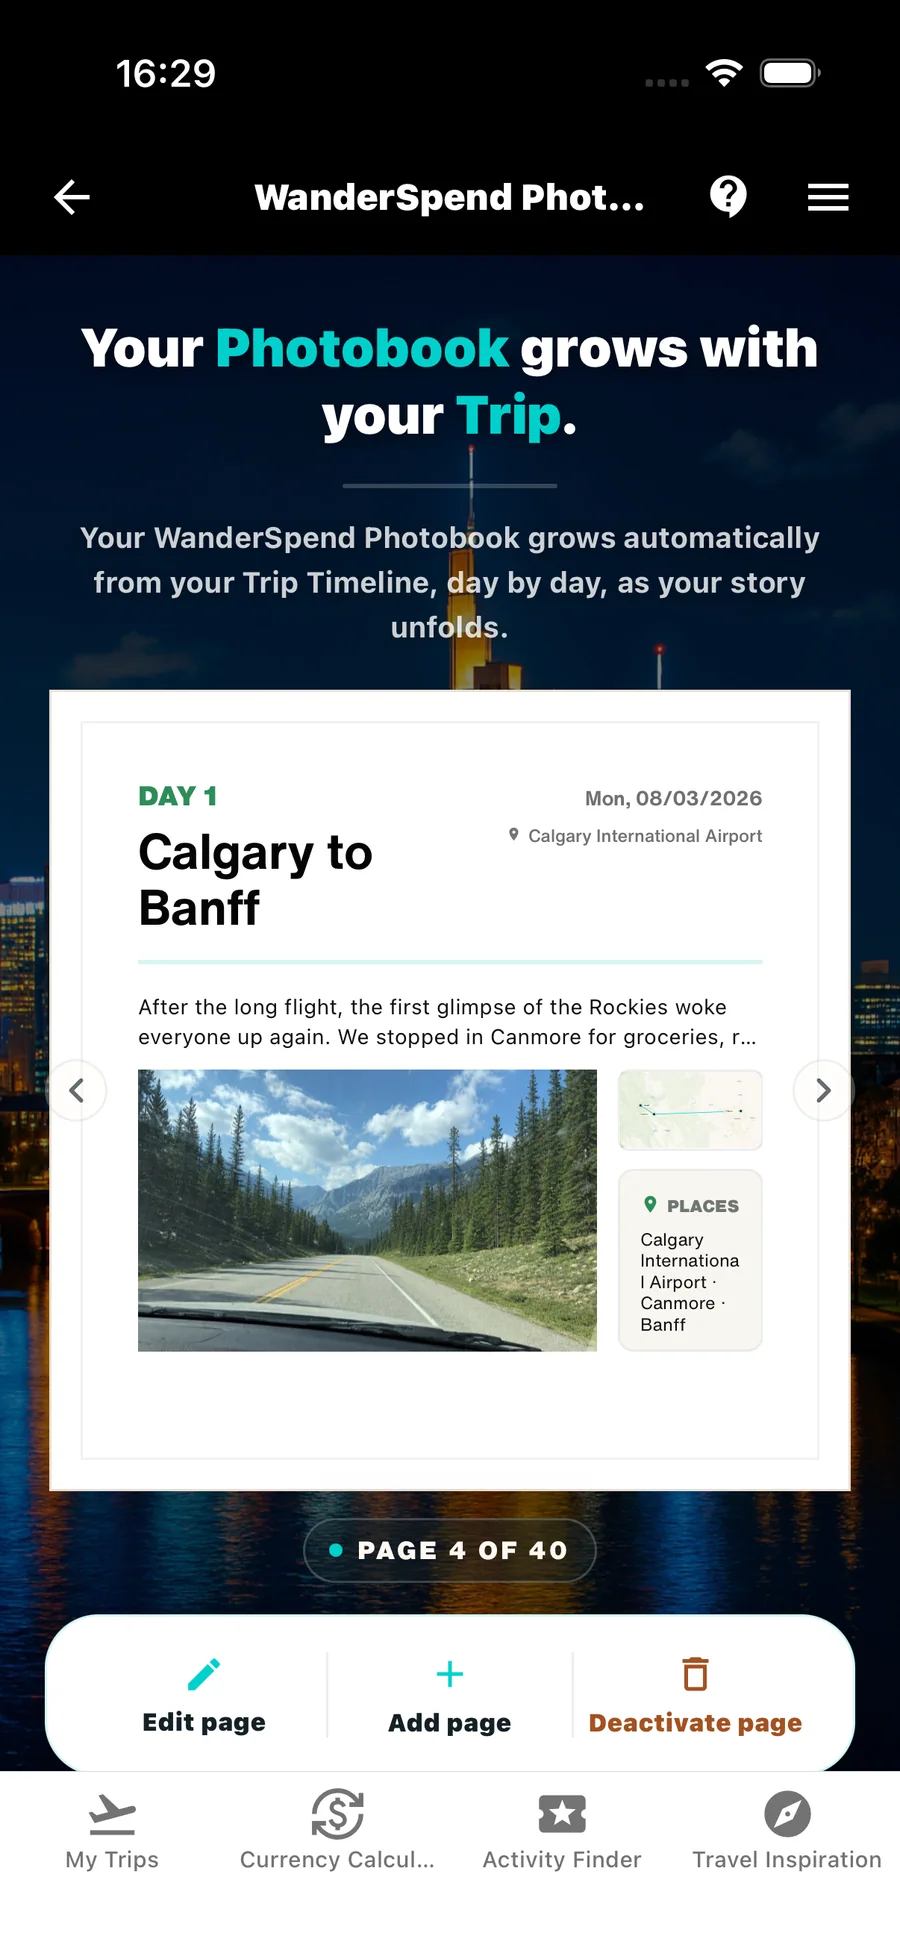
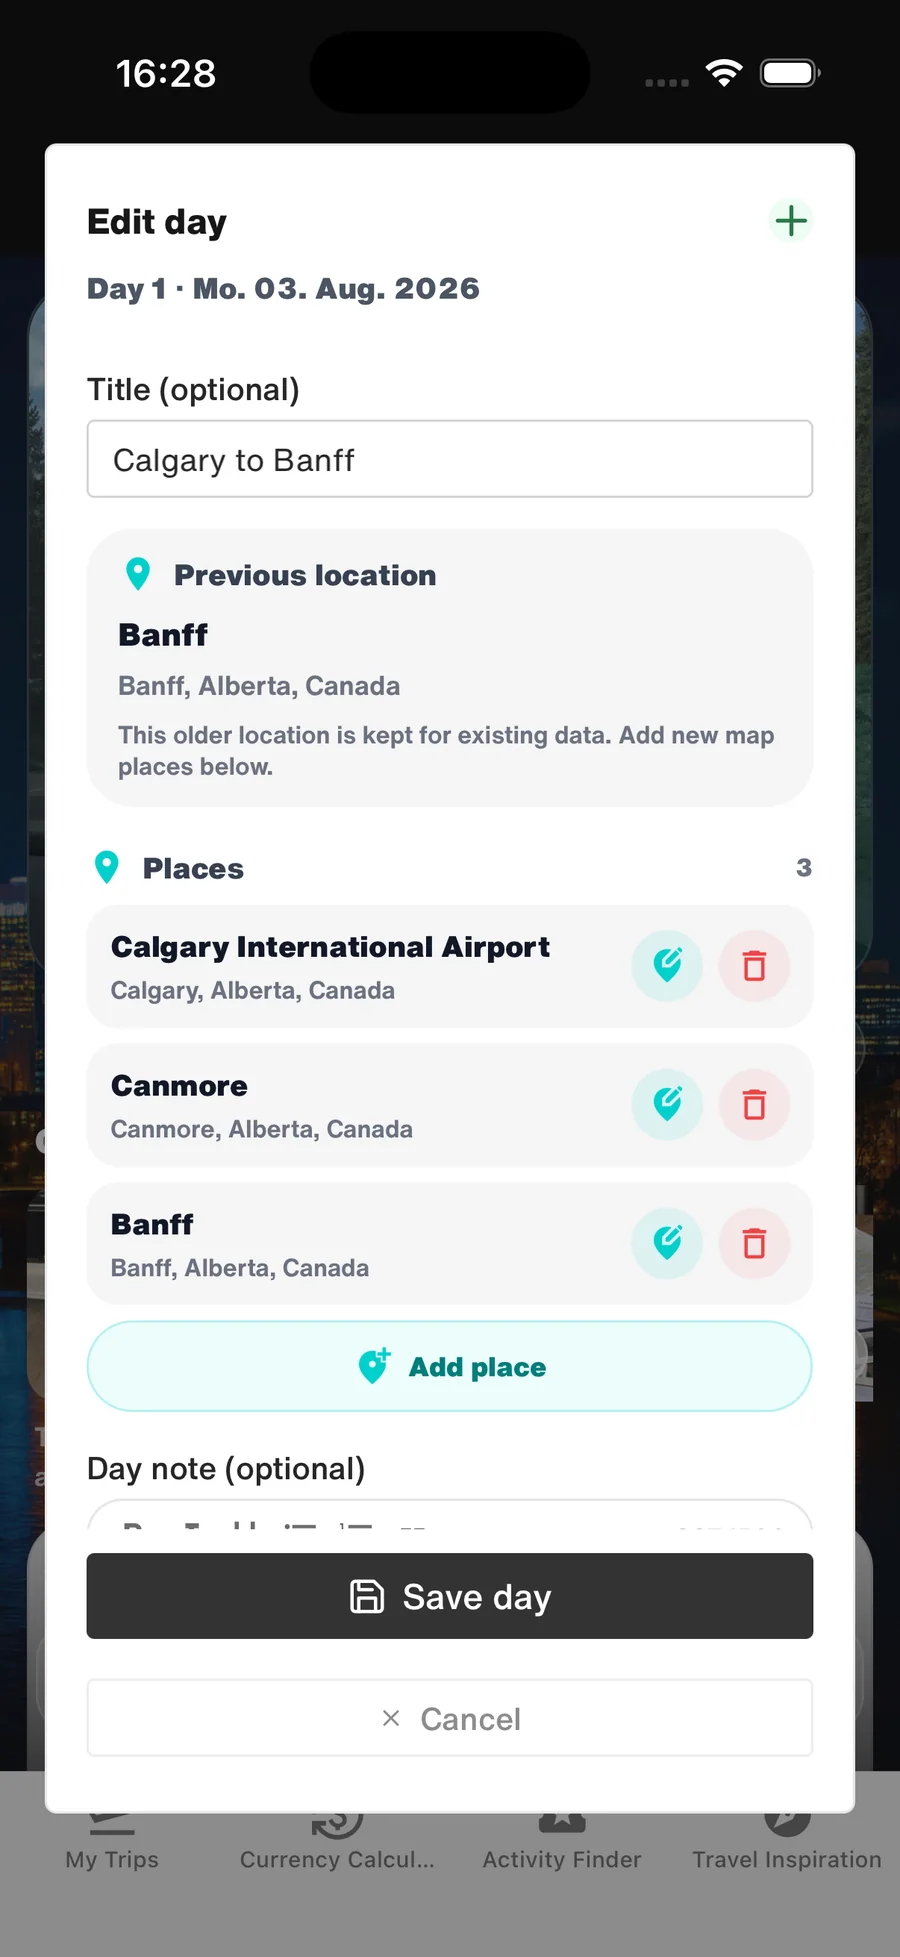
Use the DayCard as the record for the complete travel day, not only for places. Add a recognizable headline and day note, connect the relevant places, record the day’s expenses and select up to five photos.
You can add expenses as they occur and complete the places, note and photo selection together in the evening. This keeps the daily routine short while the details are still fresh.
Tap “Preview day in Photobook” in the DayCard to open the page generated from that day. The live preview grows with the trip, so you can check the result immediately and adjust the note or photo selection while you still remember the day.
- Use a clear headline and a short note to make the day recognizable.
- Connect the places and expenses that belong to this travel day.
- Choose up to five photos that actually tell the story.
- Open the Photobook preview directly from the DayCard.
A few minutes in the evening are usually enough. The DayCard does not need to be perfect; it should preserve the details that made the day yours.
4. Use the budget as a quiet check, not a daily score
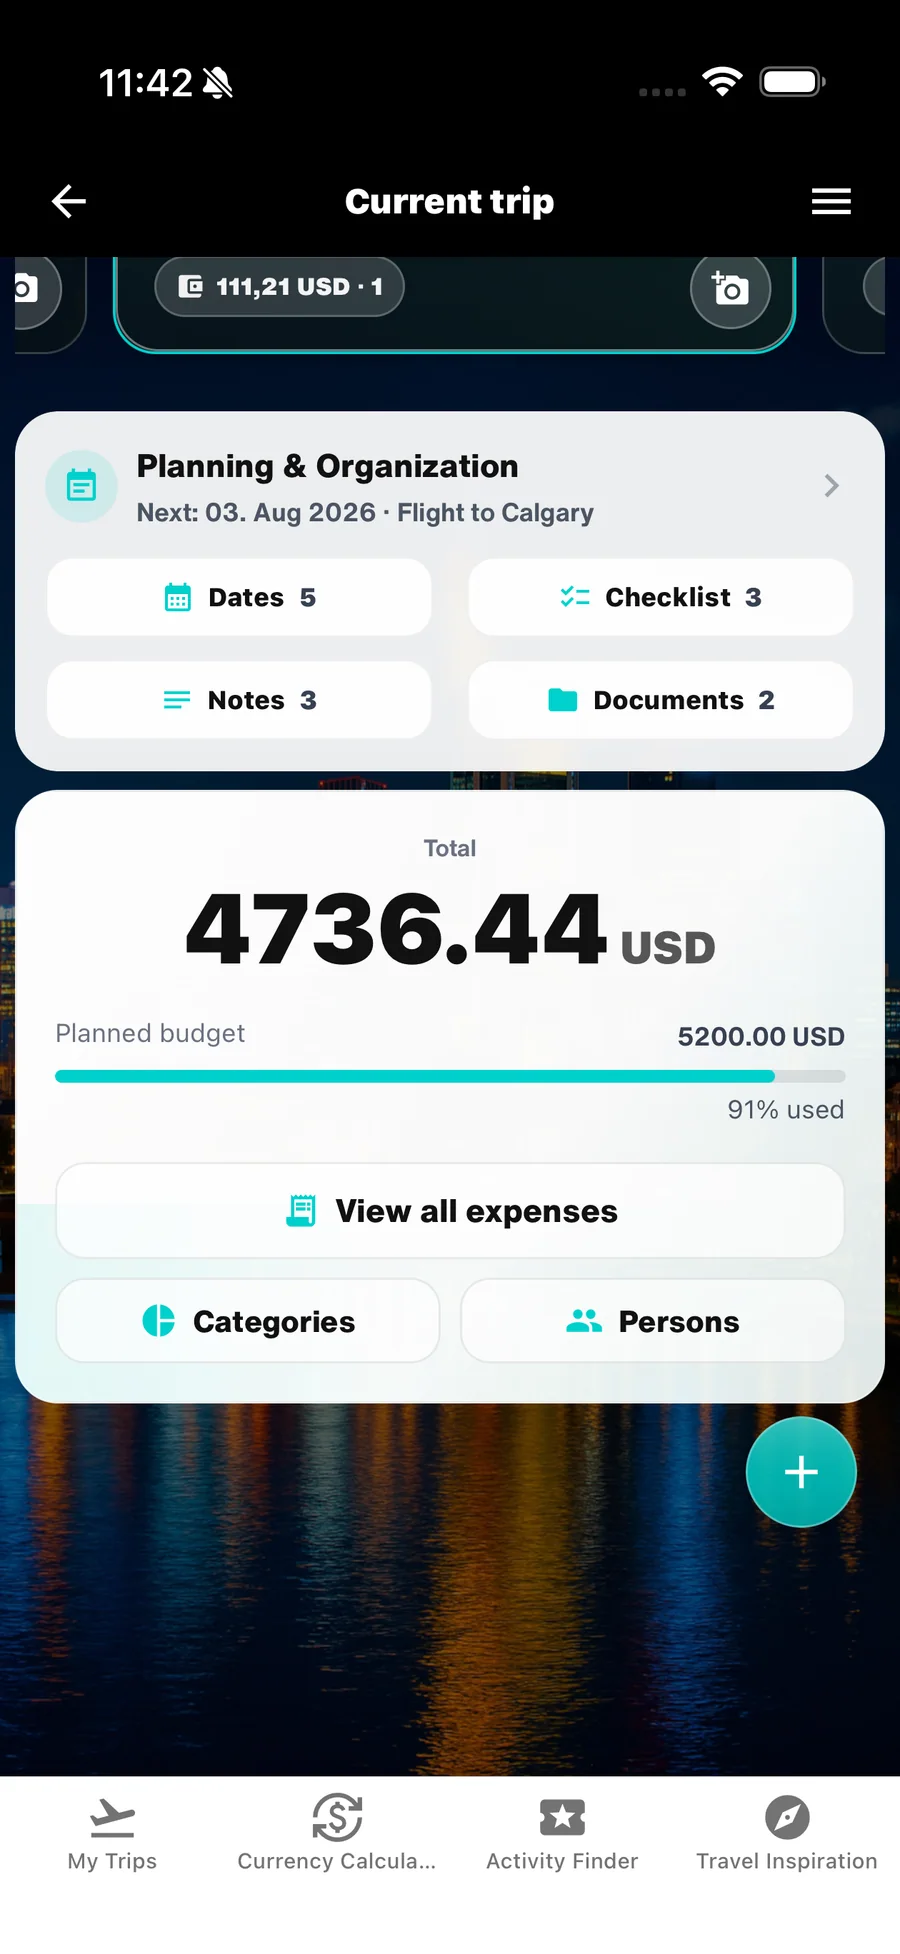
Record the expenses that help you understand the trip: accommodation, transport, food, activities and shared purchases. WanderSpend keeps original currencies and the trip view together.
Look at patterns instead of judging individual days. A transfer day and a quiet hiking day will rarely cost the same.
- Enter expenses when they happen or once at the end of the day.
- Use consistent categories so the breakdown remains useful.
- Assign people when a purchase should be split later.
For longer trips, compare route segments or categories rather than forcing every day into the same target.
5. Use the Currency Calculator and Activity Finder on the road
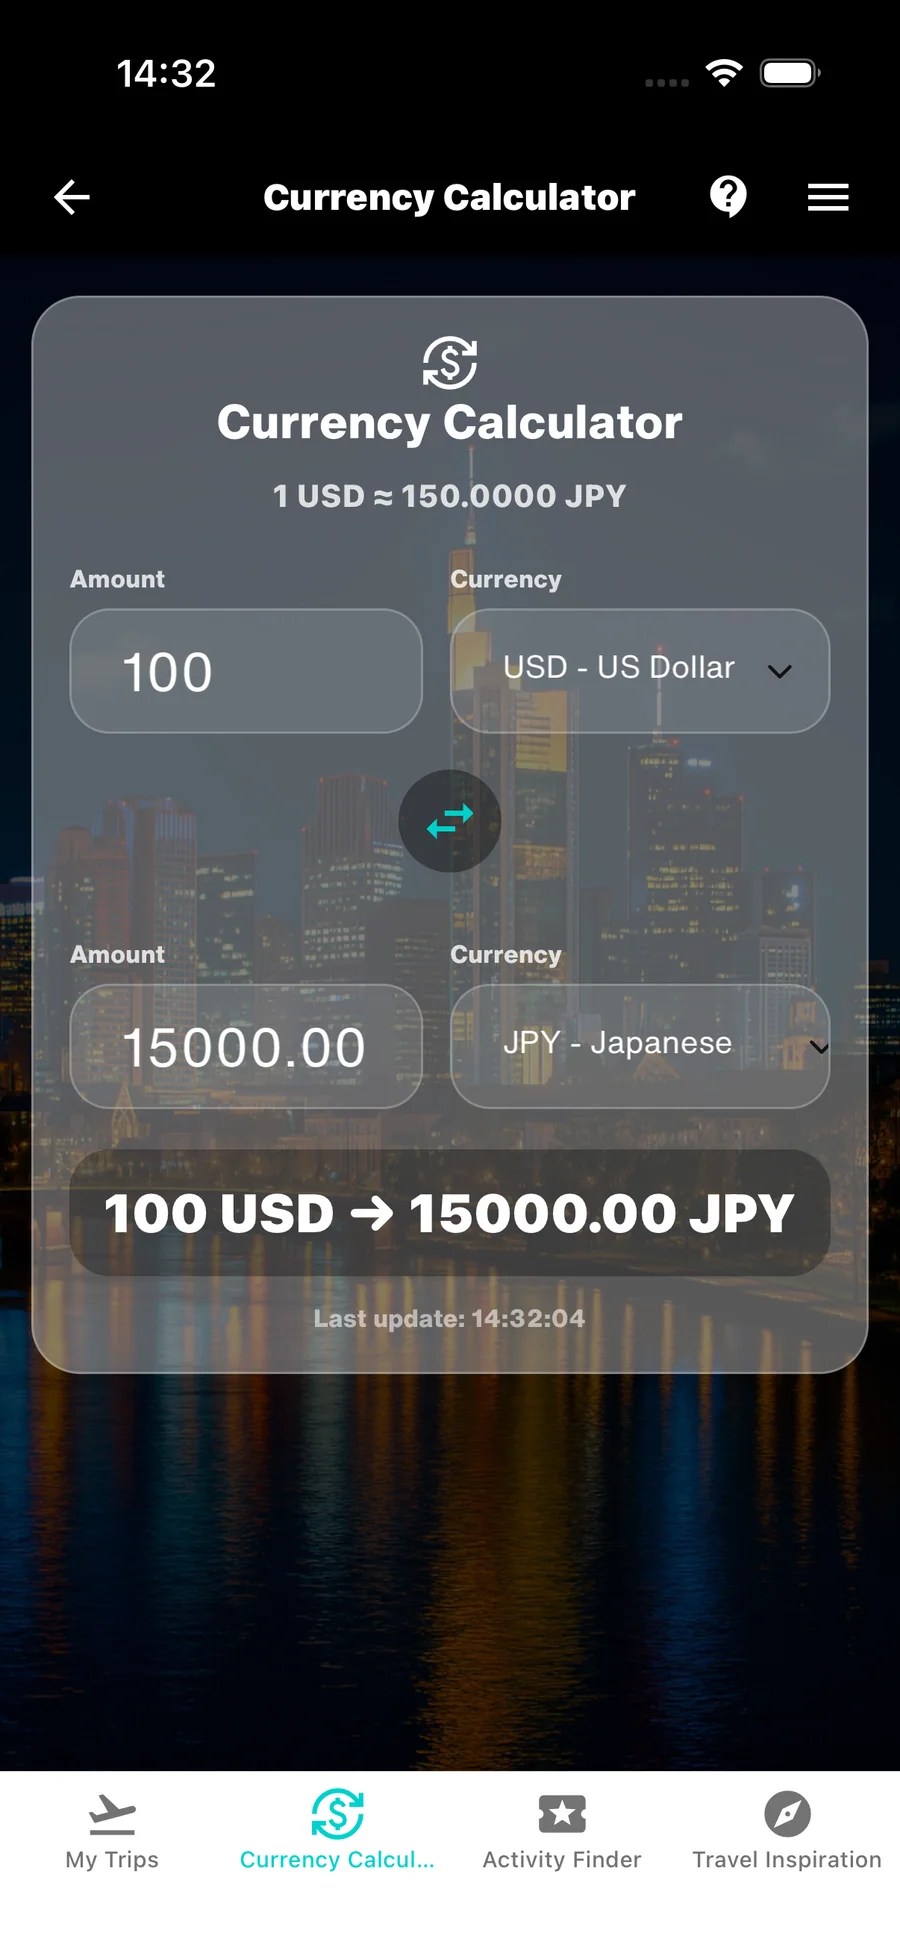
The Currency Calculator converts prices without creating an expense. When an internet connection is available, WanderSpend loads current exchange rates and stores the latest rates on the device. You can therefore keep converting currencies offline with the most recently loaded rates – useful when reception is unreliable.
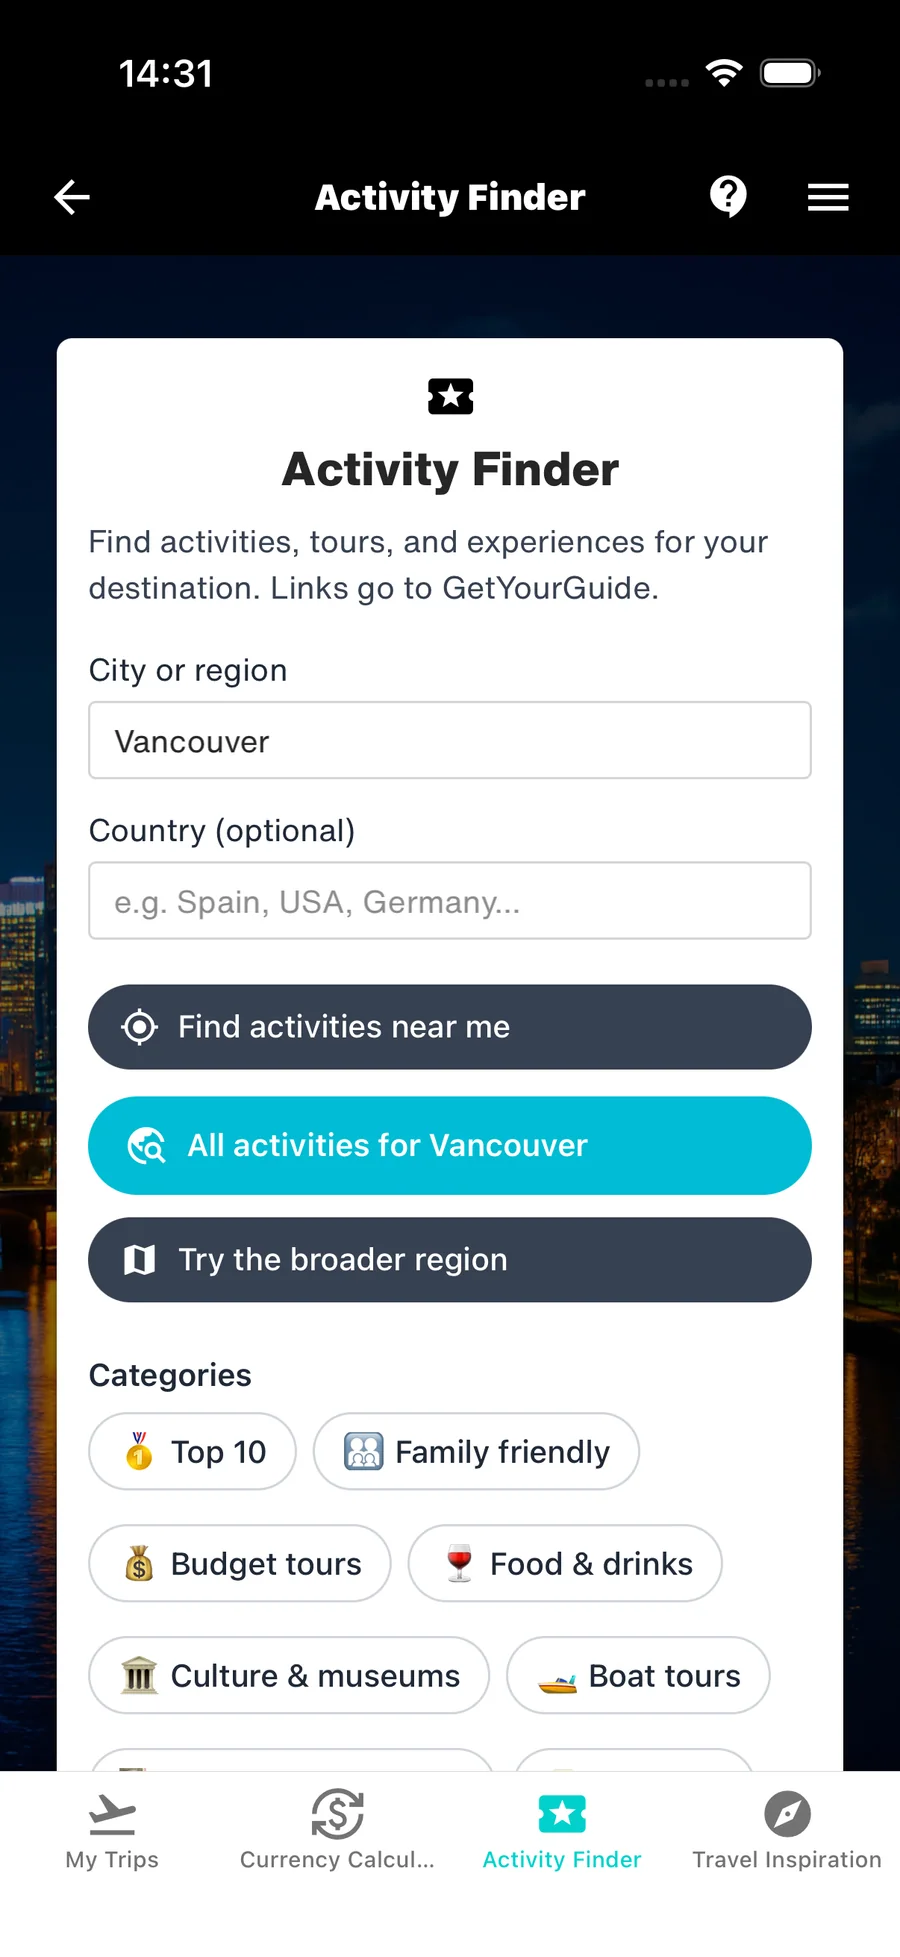
The Activity Finder helps you find activities, tours and experiences for a city or region. Search the whole destination, use your current area or narrow the ideas by categories such as family-friendly activities, culture, food, boat tours or day trips.
Activity results open through our partner GetYourGuide. These are affiliate links: if you book after following one of them, this can support the continued development of WanderSpend. Details, availability and booking are handled by GetYourGuide, not inside WanderSpend.
- Open the Currency Calculator once while online before entering an area with poor reception.
- Use the displayed last-update time to see when the exchange rates were loaded.
- Search the Activity Finder by destination, nearby area or category.
- Review the final activity details and booking terms on GetYourGuide.
The Currency Calculator remains useful offline with the last loaded rates. The Activity Finder needs an internet connection because it opens current external offers.
After your trip
6. Finish the trip and shape the Photobook
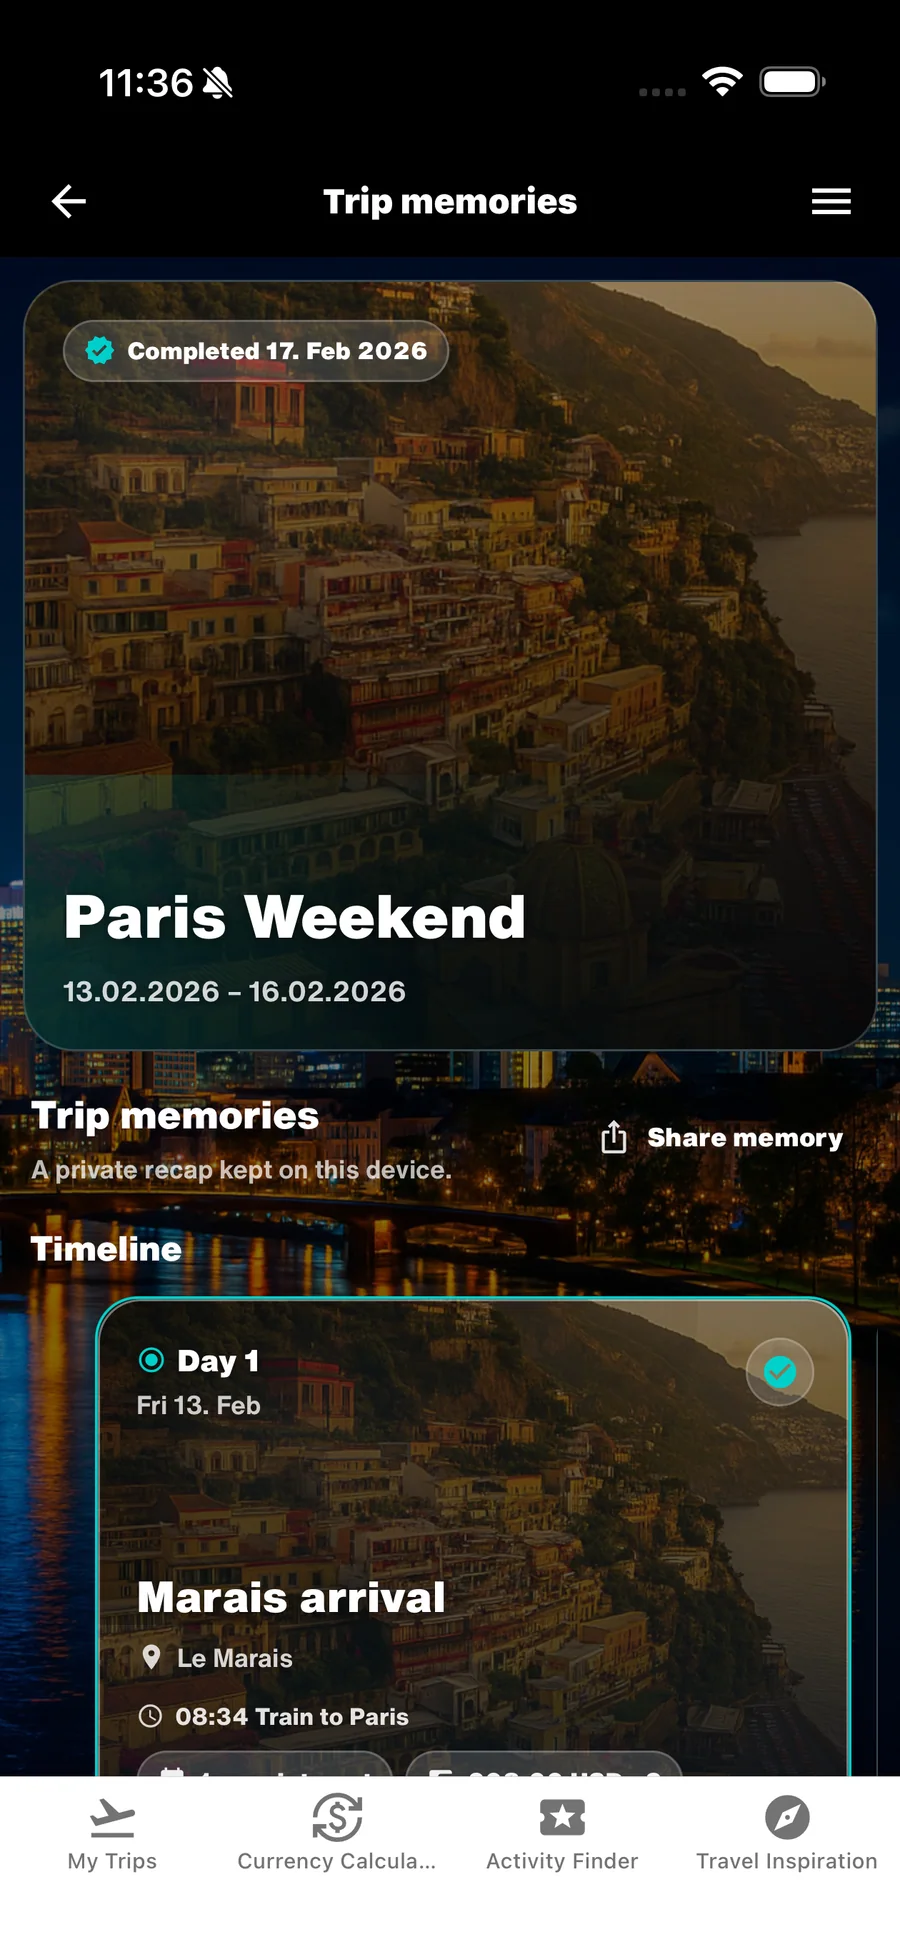
When the journey ends, review the Photobook preview that has already grown with your DayCards during the trip. Check the timeline, favorite photos, places and trip statistics, then refine the book on your device.
You can adjust the cover, route map, day pages, photo selection and optional budget or statistics pages. Only when you explicitly create the print preview are the selected Photobook photos and page settings uploaded for secure rendering.
- Review missing day titles and photos before editing the book.
- Keep only the pages and images that add to the story.
- Create the print preview with a stable internet connection.
The strongest Photobooks are usually edited a little during the trip, not rebuilt from an empty page after returning home.
Help by feature
- Documents, notes and checklistsKeep bookings, tickets and practical trip details together.Open tutorial
- Trip Map and placesBuild a visual route and connect places with travel days.Open tutorial
- Trip TimelineTurn dates, places, notes and photos into a day-by-day story.Open tutorial
- Travel budget and expensesStay aware of spending without making money the focus of the trip.Open tutorial
- WanderSpend PhotobookSee how your timeline grows into an editable printed travel book.Open tutorial